If you are new here, you should know I Stan a teacher, coach, leader, instructor, etc. I am team, “If you love and nurture my babies”, you get a token of appreciation.
You should also know that a themed gift and custom gift tag make my heart sing. They truly delight me.
So, all of my OG friends would not be shocked to know I did exactly that for all of the teachers/leaders, etc in our lives. Here’s how!
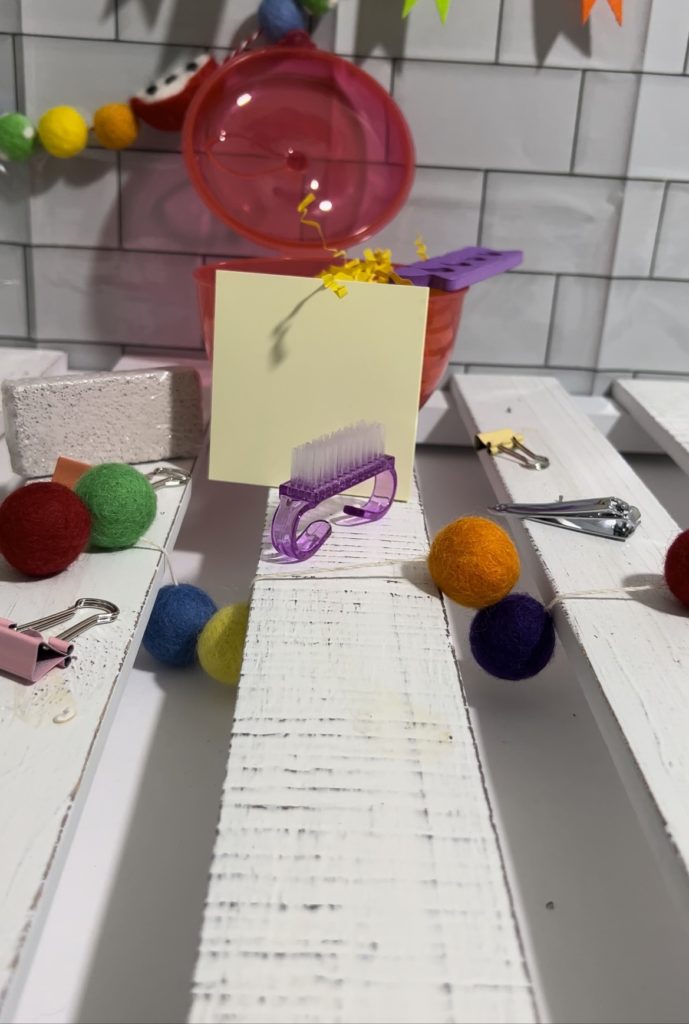
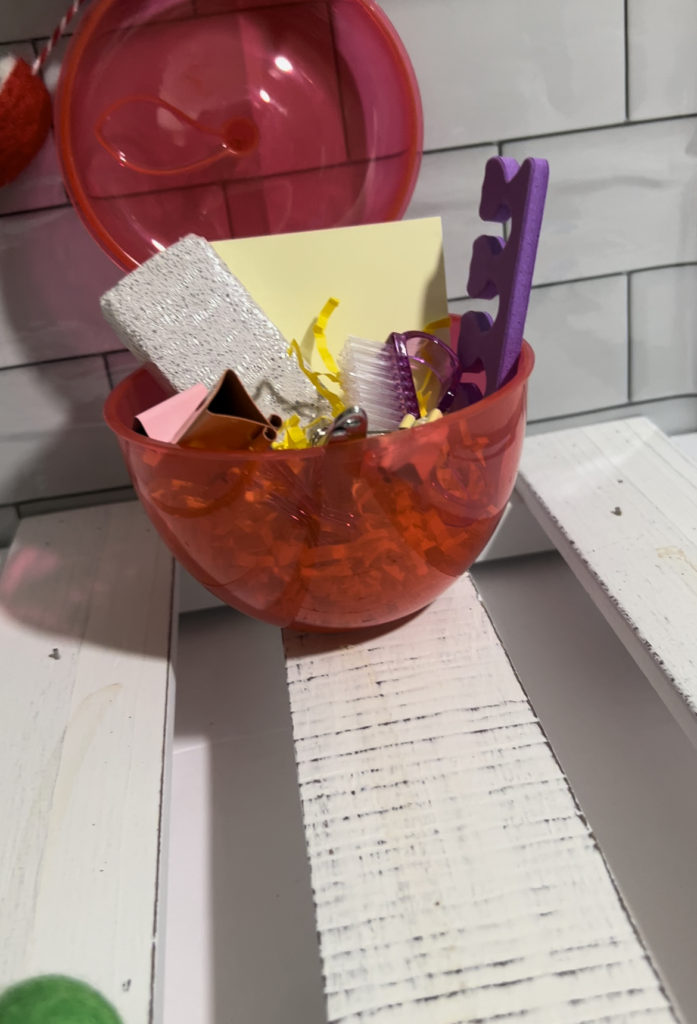
For context, I watch lots of manicure and pedicure videos for design inspiration and it occurred to me that people really don’t care for their appendages as they should. Not on my watch! Armed creativity and a mission, I grabbed some cute 5-piece pedicure sets. I also grabbed some apple cases from Target in the Bullseye Playground. I couldn’t resist grabbing notepads, pens and binder clips. Did I mention I also love practical gifts?
Then, I went to work. Using my cricut, I was able to easily personalize them. I also used the cricut to cut some adorable cards.
I grabbed some yarn and ribbon to attach the gift tag and add some flare.
To quote (and then add in to quote) the incomparable artist, Prince, “Dearly beloved, we are gathered here today to celebrate a thing called” GRATITUDE.
Note; This blog will be presented in two parts.
Part 1: Here’s the thing, teachers, especially in this country, deserve all the things. I mean, I know after the last year some of you have decided to co to use to homeschool so you get it. You only have to educate your child(ren) and all that encompasses. You rightfully deserve your gratitude in verbal and physical gift form. As do teacher.
I also know the last 1.5 years has been hard on everyone and there aren’t extra funds. You are trying to figure out how to get the essentials, and anything else is simply inconceivable.
I GET IT!!!
As most of you know, my kids will be attending a full-day at our local homeschool program one weekly. As a homeschool mom, I know we are used to doing everything without any thanks. I’m not saying that’s right, just saying I sympathize.
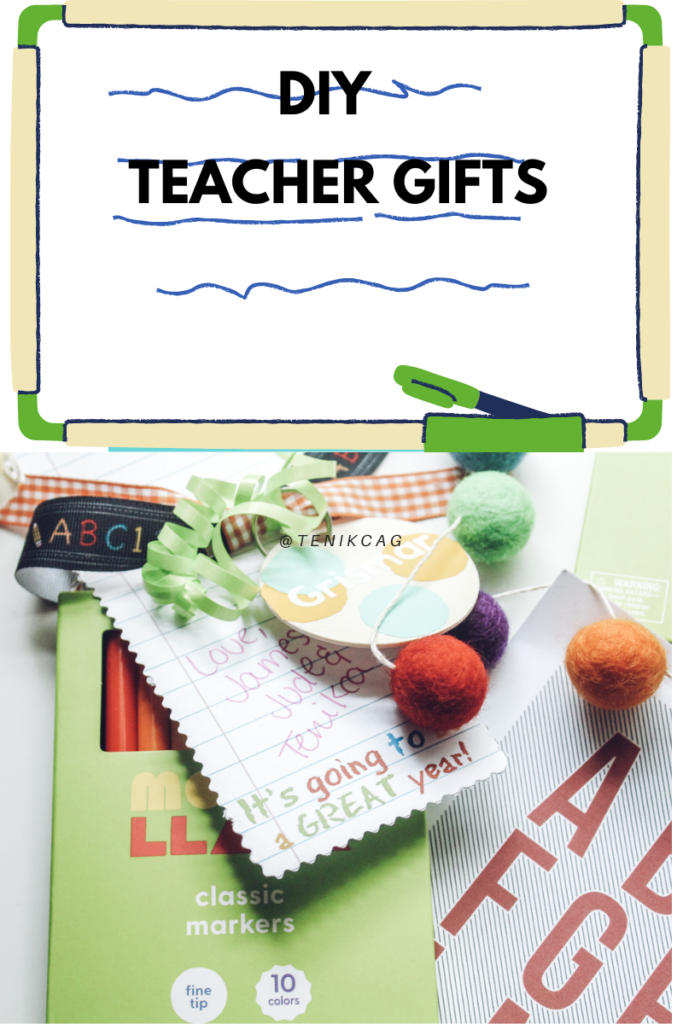
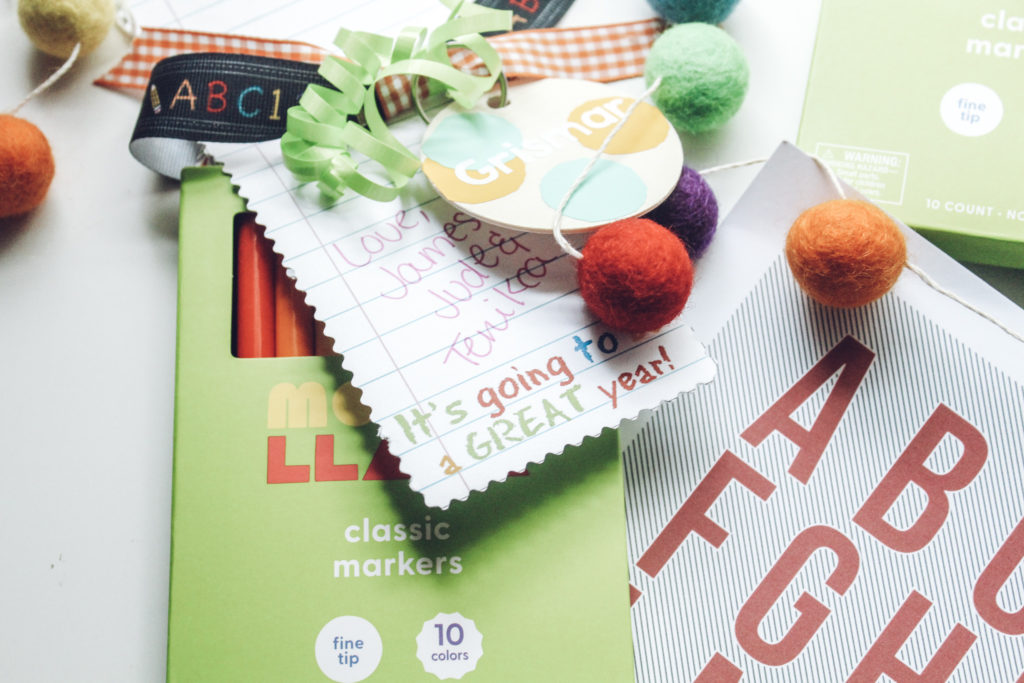
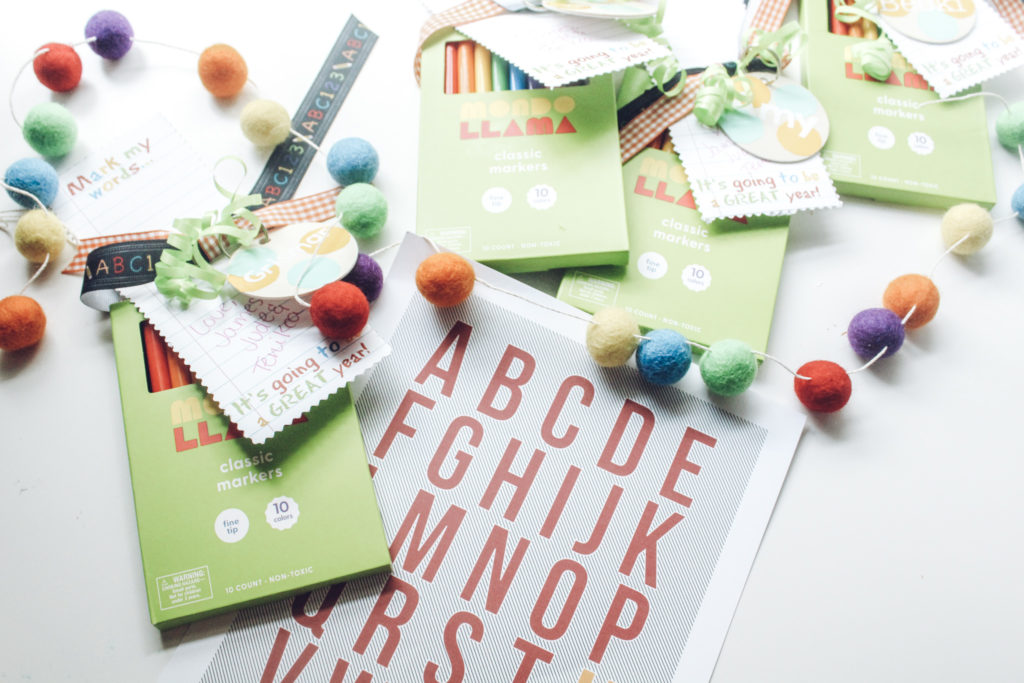
So, using $.50 markers, $.25 wooden key chains, old vinyl, a free printable and ribbon I had on hand, I put these together. I’ll be adding a little treat and BOOM! First day gifts completed for literally $1 each.
You can substitute these fine tip markers for dry-erase markers, colored pencils, flair pens, etc.
You know what you can also do?
Part 2:
Again, the focus is gratitude here. It’s also great to practice a little empathy.
Wouldn’t you want to feel seen and supported, especially after the last 18 months?
Instead of buying things, take the time to write this teacher a thank you note and include the days/times you are available to help.
After the first week, kindly asks what it is they could use in her classroom and asses what you provide.
Y’all, I was convicted putting these gifts together. As simple as they were for and as economical as they were for me, both could be way out of reach for another family but our gratitude and empathy remain the same.
If you are going to give anything, my top suggestion is it needs to be useful. If you are unsure, your time is an amazing gift!
For future gift ideas, I put together these info sheets to really get all the deets on their likes, allergies, and needs. Hope this helps.
Here’s the thing- I completely despise counting myself out. What I loathe more than that is other moms counting themselves out. You wouldn’t believe the amount of “I wish I could do that” or “I wish I was that talented” or “I could never do that” I hear and it is maddening.
I get it though. Seeing something put together in a square with good lighting and a photo preset can make anything look out of my depth. What I wish I knew a while ago is that perfection is not the standard, joy is. Joy from the giver and from the receiver.
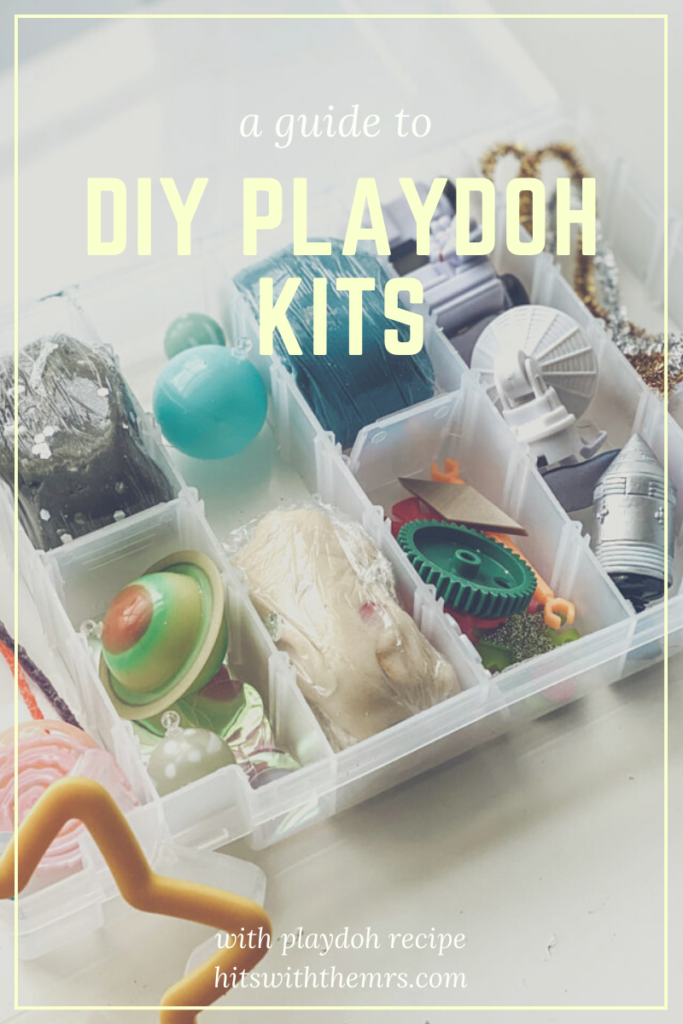
I thought I couldn’t make playdoh. It never, ever worked out. I tried, Failed, Tried. Failed disastrously. Thus, I could never make playdoh kits. So I got them as a gift for Jude’s third birthday. When I saw the basic items that cost maybe $3 to display prettily and organized while charging $30 a kit, I was in awe of their genius and then I went to work.
For starters, I found a recipe that worked. I read many blog posts and IG posts to see what was a common denominator and how to do this inexpensively. (for the recipe I use, keep reading.)
I also realized that I have just about everything I need for playdoh kits at home or they can be purchased very inexpensively, I am talking $1.00 or less. On top of that, they can be reused for other kits, crafts or activities.
Now for the execution…
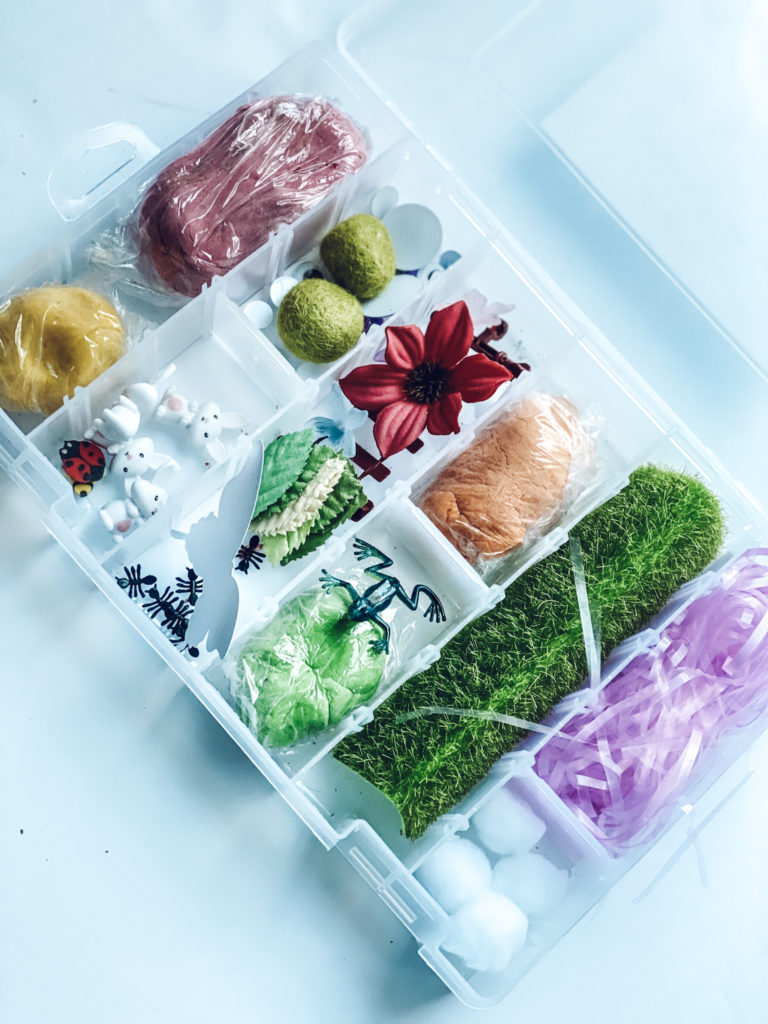
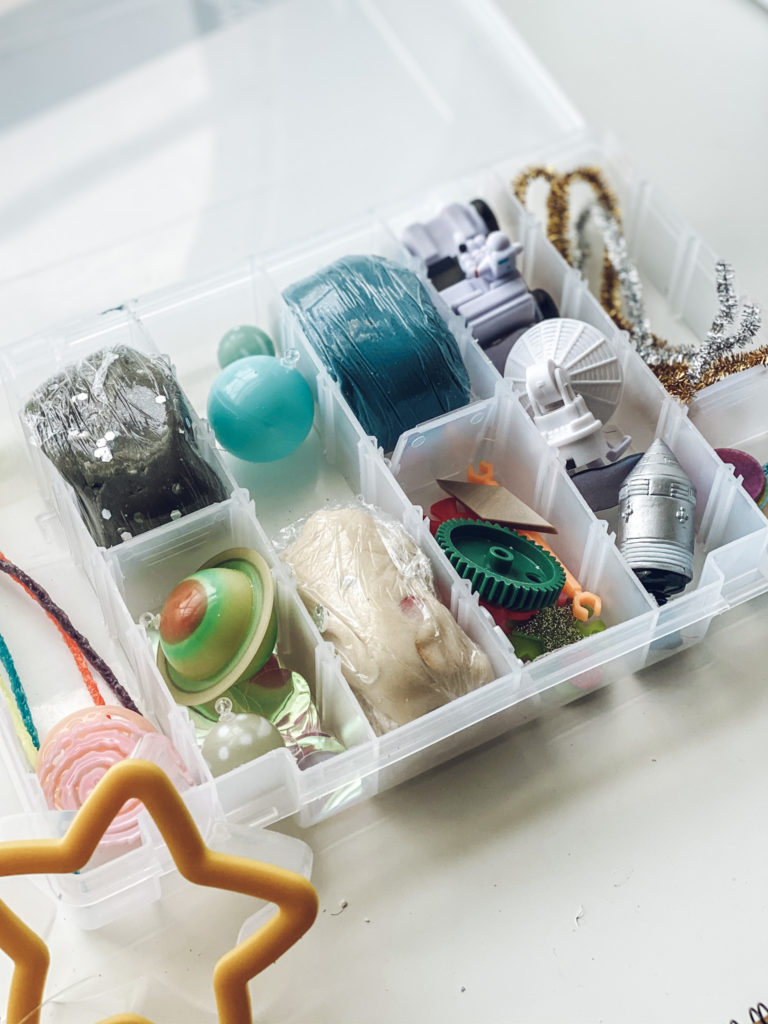
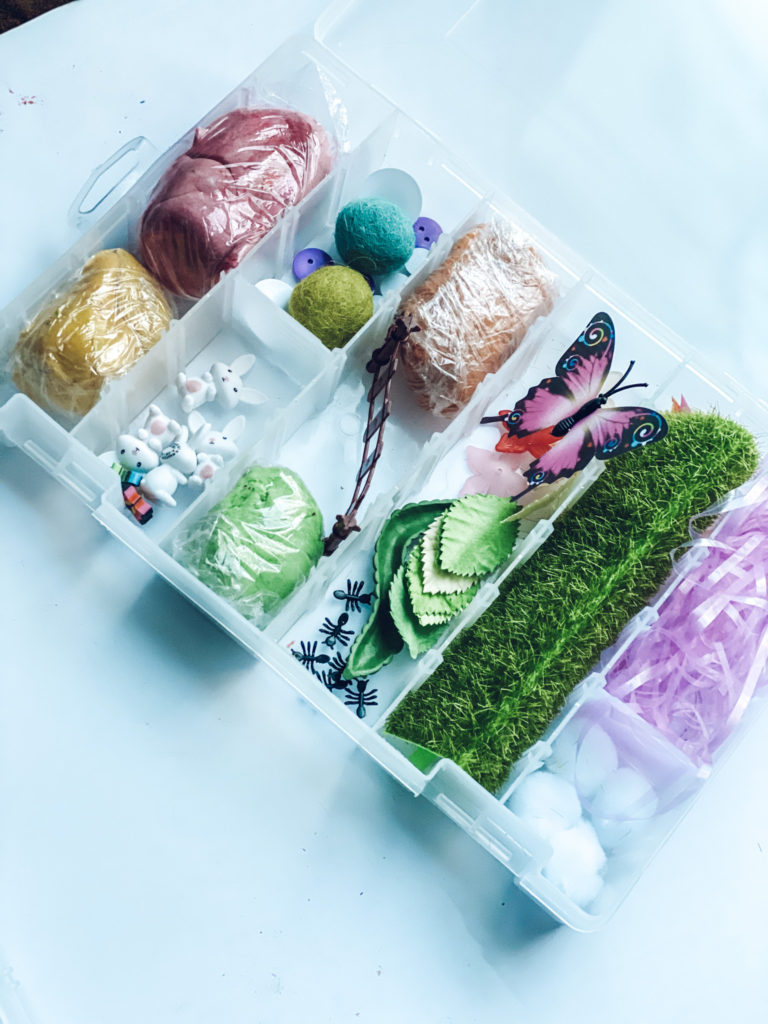
Theme: This is, to me at least, the easiest way to plan out what will be in your kit. While these playdoh kits do allow for open-ended play, a general theme is very helpful. Themes can be anything from seasonal, holiday, curriculum support or fun interests. The good news is, you can make these over and over again so you aren’t limited to one masterful theme. I’ve got tons of ideas saved on Pinterest.
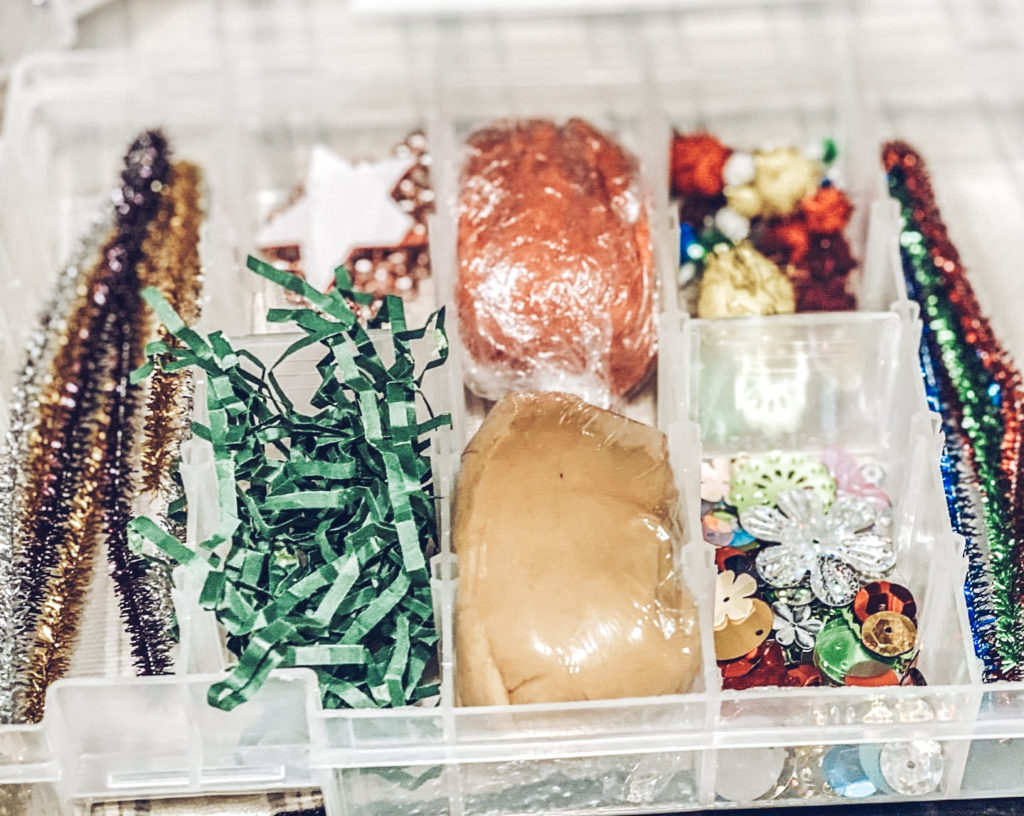
Add-ons: So after you decided on your theme, select your add-ons. I am not sure if that is the technical term for the additional items that arent play-doh in the kit, but that is how they shall be referred to in this blog post. Ok, I say this gingerly but there is very little that is off limits. Toothpicks, straws, pipe cleaners, cookie cutters, small figurines, mini erasers and the list keep going and going. The good news is these items are very inexpensive and can be used for multiple things and, if stored properly, used again. Talk about bang for your buck!
The next thing I suggest purchasing is food coloring, gel and liquid. Don’t ask me but this raises the appeal of playdoh by like five thousand.
Now to the recipe. I am an enneagram 6w5 and I assure this recipe has been vetted, tested, tried, doubled and made with kids. Thus, I trust it implicity. I found this recipe via IG from @simplylearning and bless her entire soul.
½ cup of flour (I use stick the cheapest, most non organic here. My kids are past ingesting playdoh so this is not a concern for me.)
8 tsp of salt (see above, cheap!)
1 tsp of Cream of Tartar (This can not be omitted. Don’t substitute.)
½ cup of water
1.5 tsp of vegetable oil
You are going to mix these in a stainless pan that you have the stove on low-medium heat.(I keep the pan slightly “pre-heated”. I combine with a wooden spoon until you get a “dough consistency”
Scoop it out on a floured surface and knead. Yup. You don’t want the playdoh to stick to you. Add flour in very small increments until you’ve reached that consistency.
Then you add your food coloring. This magic is up to you. I typically use a combo of gel and liquid to achieve the desired colors.
Optional: I add essential oils. These provide calming and positively stimulating responses from my kids on top of smelling heavenly.
That’s it! Happy playdoh kit making friends! Be sure to tag me in your creations.
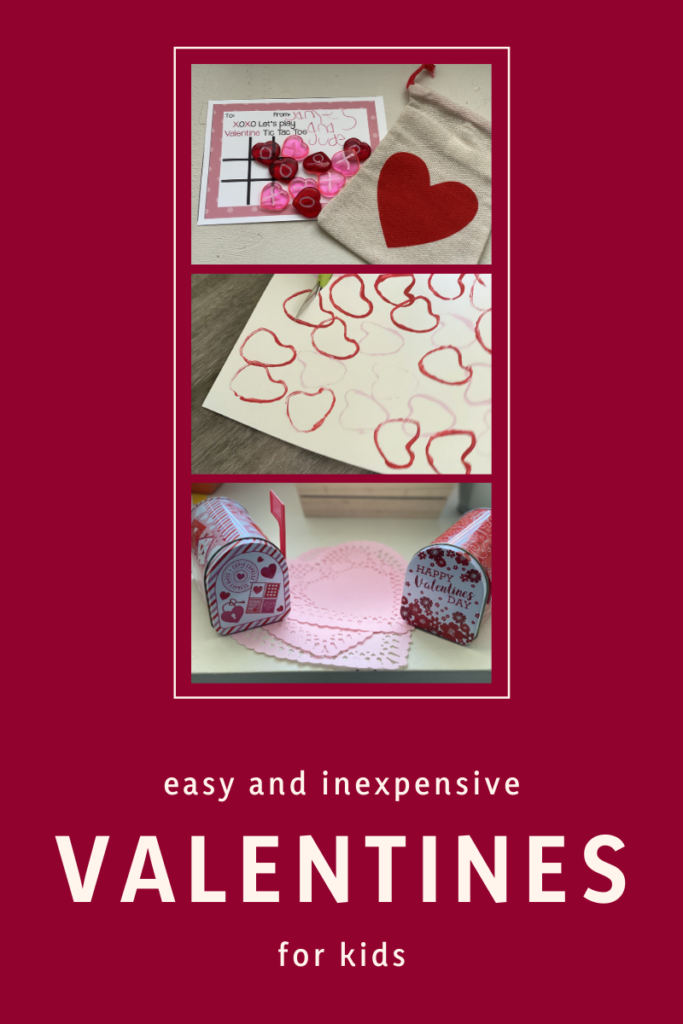
As weird as 2020 was, I am sure we all learned a thing or 2. I for sure learned that people in our life love us so well. Almost too well to be honest. So, it is important to me to teach my kids how rare this kind of love is and to pay it forward. I love using holidays to do so. With Valentine’s Day around the corner, I thought I would share some easy valentine ideas and ways to share them in these quarantine streets.
Let me start by saying I apparently have no control over myself or what I end up purchasing when I walk into a well-stocked Dollar Tree. It honestly blows my mind that my restraint is inhibited so badly. Anyway, my inability to show restraint is your gain.
Next, I over-love a free printable. If I don’t have to design it, I am as happy as a clam.
Cupid’s Glasses: I mean what’s cuter than little faces with bright colored sunnies? Attach a cute printable like this and, easy-peasy Valentines to share.
Pencils: This is probably the most inexpensive and the most versatile. You can leave solo, attach to a crossword or note pad, pair with treats or game. When 12 cost $1, you have a little wiggle room to make a few things happen.
Slinkies: I’ll say it, I really don’t care for them but kids love them. Soooooo, with a little washiest tape and a printable like this, spring goes my heart! Get it?
You’re Number 1 in My Book: Who doesn’t love a bookmark? Especially when it’s crafted by little hands with lots of love! I chose DIY heart stamps but you could certainly do paint, stencils, hand or finger prints and delight the hearts of readers dear to you.
Tic Tac Toe Sets: I saved this one for last because it is the most time-intensive. I grabbed two colors of heart table throw, and burlap sacks from Dollar Tree and Paint Pens from Michale’s. I had my kids write “X” on one color and “O” on the other with the paint pens. Then, after letting them dry and printing, cutting and laminating a tic tac toe printable, I put them in cute burlap sacks. Fun for days!
Now, how would one share these safely whilst still in the throws of a Pandemic you ask? Here are my answers:
Door stop drops: These are my favorite they bring so much joy and such a pleasant surprise.
Social Distance Meet-ups with masks: If you have a Quran-team or those you trust, this could be a great time.
The USPS- I know, they were all the way slacking and some of us are still getting Christmas presents. However, they still work and they need to be supported.
I’ll be doing a combo of all this because extra is as extra does.
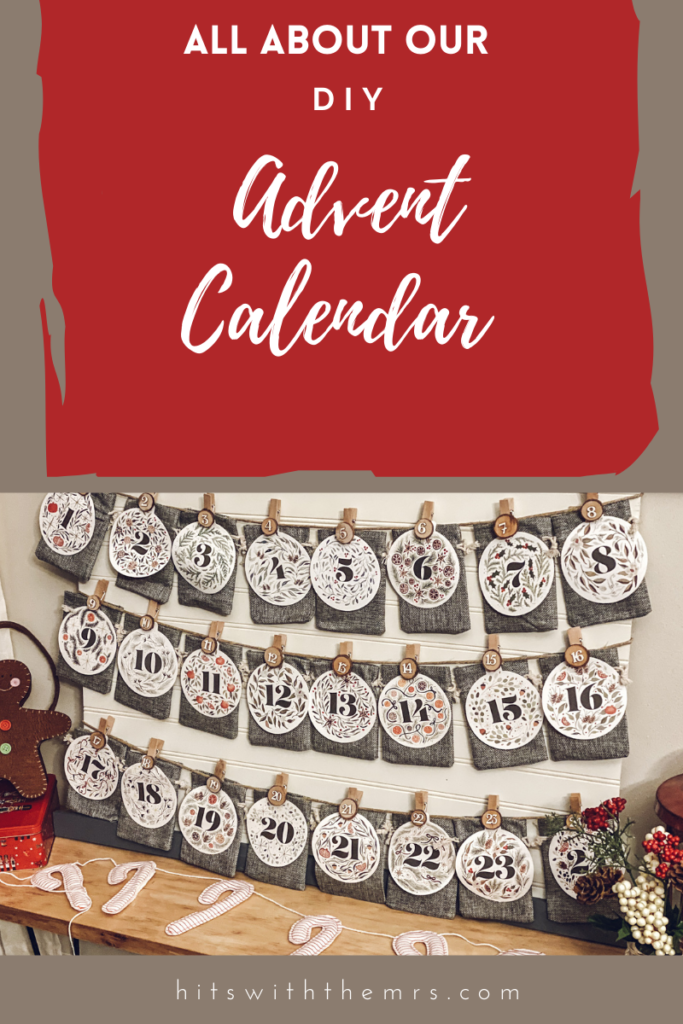
If you have been here for a while then you know I am planner. I try and get things done early for holidays and celebrations and so I can actually enjoy them. This DIY Advent Calendar is no exception. I had the pleasure of doing a loop with some fabulous ladies on IG so I got to work fast.
The first step was research. The advent calendars of year’s past have been underwhelming and unsustainable. Thus, they weren’t fully utilized for one year. Last year, I knew I wanted something I could use for year’s to come. I grabbed these burlap favor bags with some wooden numbered clips. I finished it off with the She Reads Truth Verse ornaments. I strung it on twine and hung from the mantle. It worked but it was so busy. It fell a few times, it was hard to access with the stockings hanging and you couldn’t really notice everything.
Fast forward to this year. I knew the bags, clips and ornaments were staying. I knew I wanted my kids more involved and I wanted a very full, rich and intentional advent season in spite of this pandemic. I mean, I am not asking for too much right?
Ok, back to research…
So, I aptly started where all good research starts: Instagram. Sorry to report nothing came up that I knew was for us. Next up, Pinterest. After LOTS of scrolling and several rabbit holes, I came across one tutorial that inspired me and that is saying a ton.
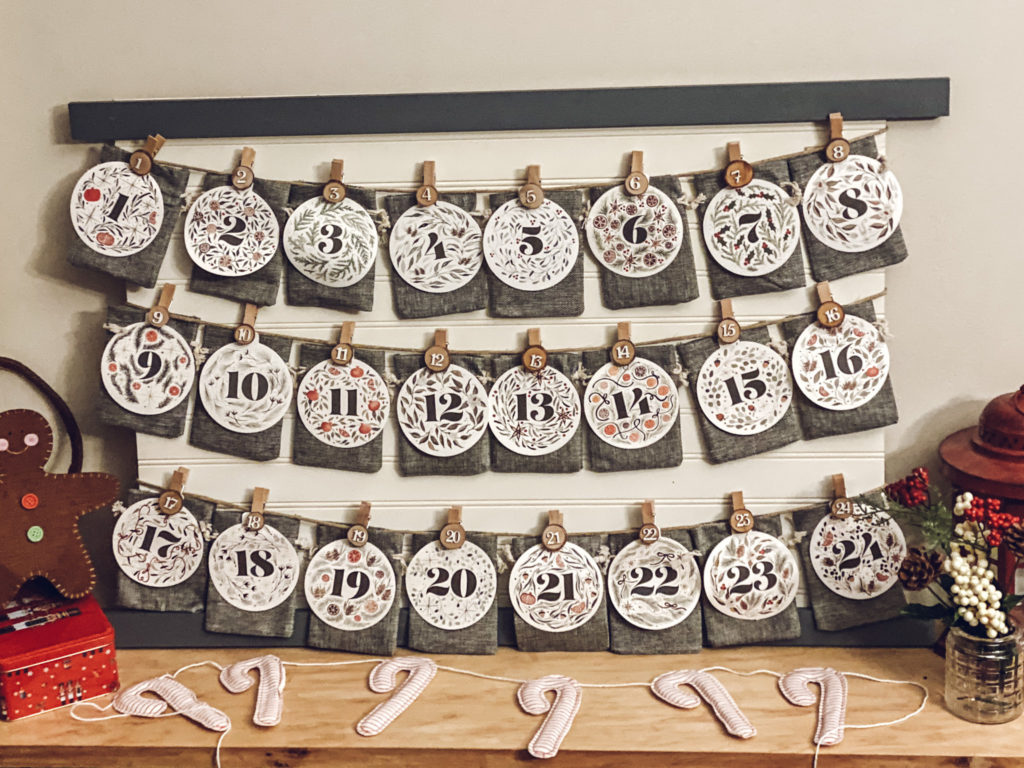
With said inspiration, I placed a pick up order from my local hardware store for beadboard and poplar boards. Random, I know, but stay with me.
I picked it up and sanded then stained the popular boards “weathered gray”. Once they dried, I used E600 and prayers to God to adhere them to the beadboard creating a top and bottom frame.
Then, I grabbed some thin rope, more E600, hot glue and louder prayers and attached the rope in 3 rows. LET COMPLETELY DRY. For the impatient like me, leave the house or find another task. While drying, I used clothes pins to keep the rope in place.
After it dried, I attached the bags, clips and ornaments, sat back and marveled. I am very pleased. This was in fact, as advertised, quick, easy and inexpensive.
Now to the fun! The advent activities! I used the Advent Celebration Activity Pack to plan our activities, get supplies, have all our verses and have a happy, fun and intentional advent!
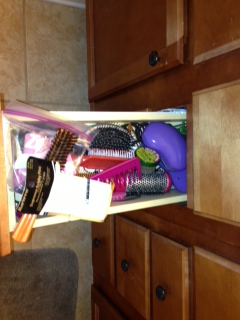
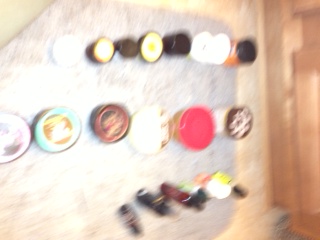
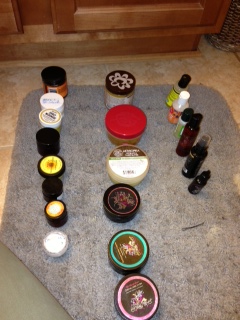
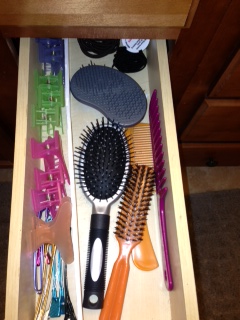
I know you all got a kick out my last crafting and organizing tutorial so here is another one. In preparation for spring cleaning, I did A LOT of organizing/discarding before hand so I could focus on the cleaning itself (blog post coming, don’t fret 🙂 one of the things I HAD to organize was the storage in my bathroom where I keep hair products, hair tools, make up and beauty products. You can see the before here of my drawers and the cabinet under my sink. (So sad, I know!)
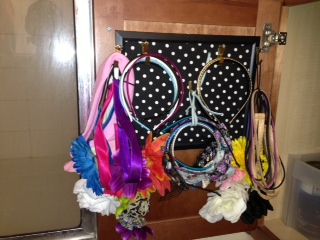
For the organization under the sink I made a trip to the handy-dandy Dollar Tree and purchased a picture fame, a storage compartment and some candy to keep me going (vegan of course :).
I then went to my craft room and grabbed the glue gun and fabric, I used the last of the black and white polka dot I used on other craft project explained here. I got some picture-hanging hooks from the garage. (Yes, home owners just have that lying around). Then, I got to work.
The first step to organizing is taking inventory of what you own and what is staying or going. That is what I did with the items under my sink. I separated them into hair products, hair tools and beauty products. I threw away what I hadn’t used Ina while; what I wasn’t going to use and what was too old to stay.
With what was left I organized the hair products by category (leave-ins, deep conditioners, moisturizers, etc.) and organized them neatly, making sure they are easily accessible, in a bit I already had.
I took the organizer from the dollar store and did the same (organized, discarded, place neatly, ensuring accessibility,) with beauty products.
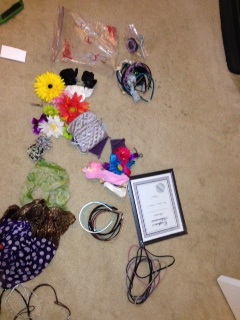
For my hair accessories I used the same process I explained when my earring display. Instead of applying wire I applied the hooks normally used to hang wall art and I used those to hang my headbands (organized by style of course) I then got some one-inch wired ribbon and cut two strips about three inches long. You can use more or less depending on the space you have available. I then added my hair bows to the ribbon. (Remember, accesiblility is key. ) I then mounted a walk hook to the inside of a cabinet door and hung the picture frame.
I am thoroughly satisfied!!! This is by far one of the best things I have done.
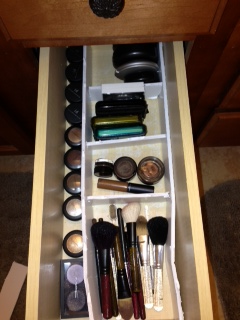
Now, on to the drawers, I attempted to follow this YouTube tutorial but this was WAY more complex than I required. I am not a make up artist and definitely do not have the space capacity the demonstrator did in the video.
So I separated each drawer on the floor by products type (eye shadow, foundations, brushes, etc. I did this for each drawer- I also have a drawer where I keep my combs, brushes, clips, hair pins and hair ties as well a drawer of hair products (yea, I am a bit of a product junkie).
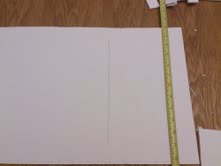
I then used just half 1 extra -large foam board from Hobby Lobby and measured the length and width of the compartments I would need for maximum accessibility. The Mr. Was a great help during this process 🙂 make sure your measurements are very accurate. I thought mines were, but we has to go back to the board and cuts few more times.
After you have the boards cut for your specific compartments, assemble by simply placing the boards how you see fit (according to the pieces you cut. I did not use any glue or anything like that. The tension between the boards is sufficient. Plus, this gives you the opportunity to move some things around of your collection grows.
I am in love with this as well. I have no idea why I did not so this sooner!
If you are like me, you just attended at least one Derby party this season or you attended some function in which you needed something atop your head and did not have an array of fancy church hats neatly stacked in boxes.
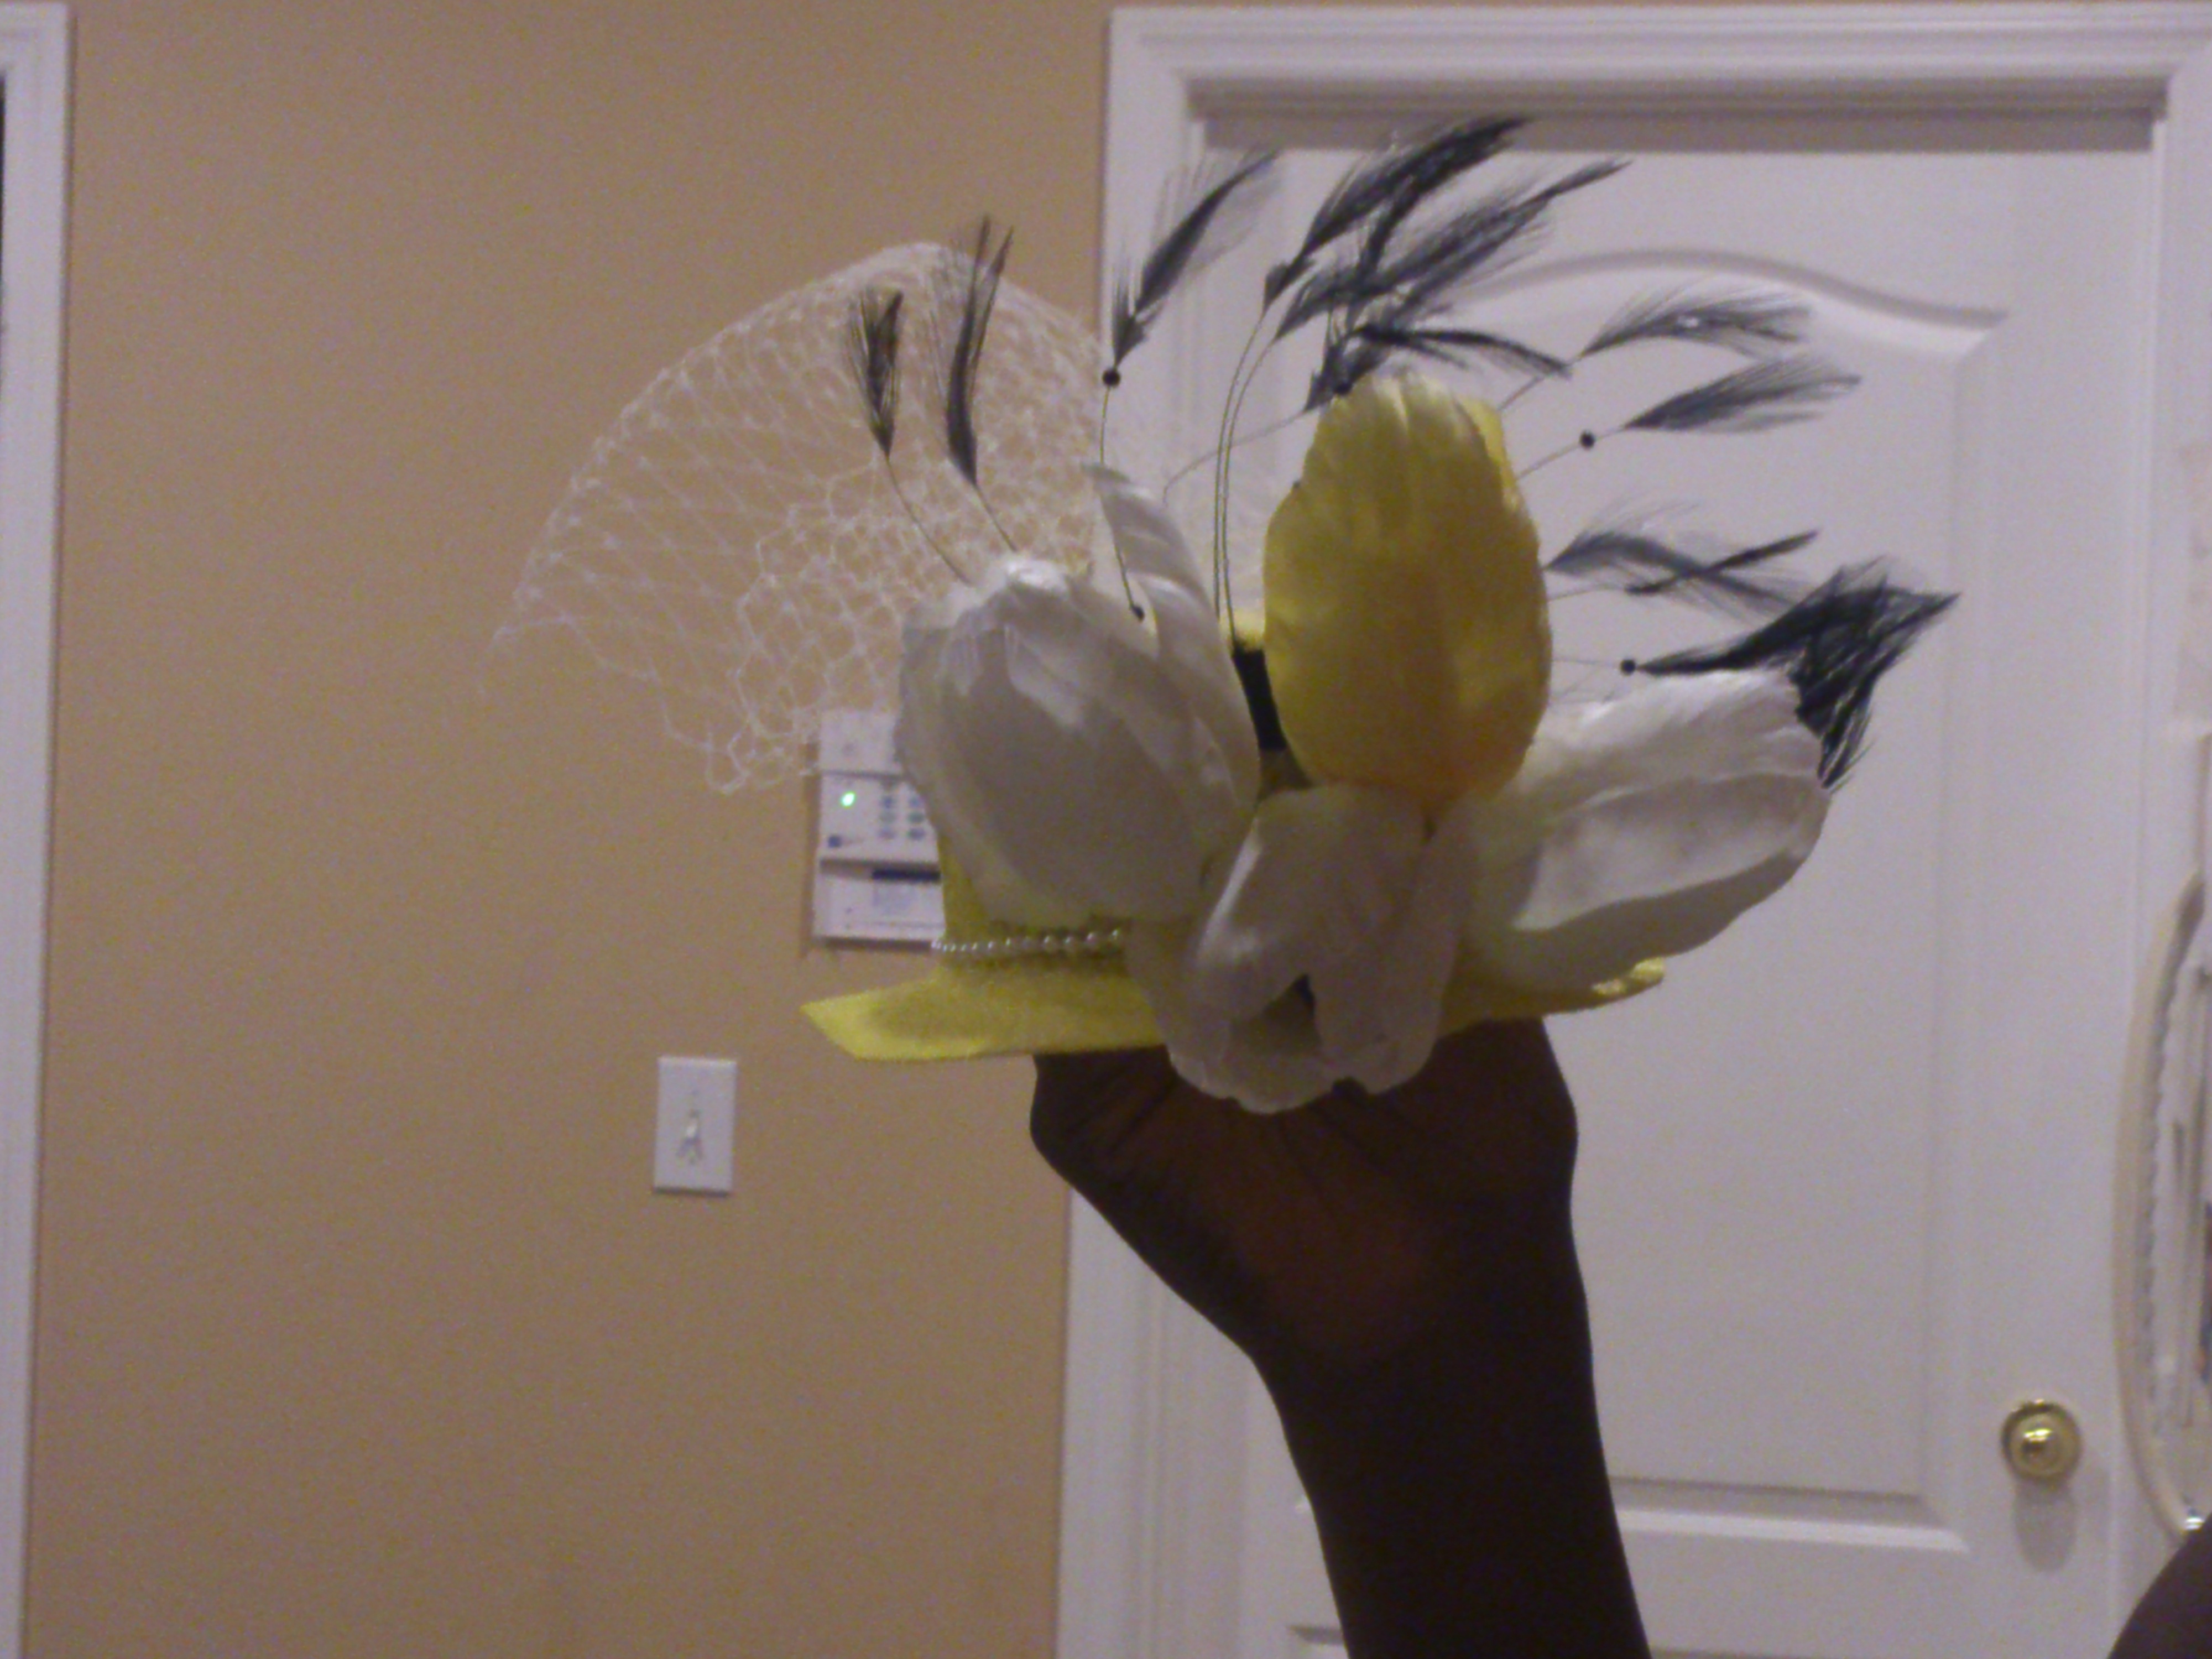
Well, I have a tutorial for two quick, easy and inexpensive fascinators…(head piece, or style of millinery, commonly made with feathers, flowers, jewels or beads that attaches to the hair by a comb, headband or clip- The Feathered Head)…this is where the fascinating part comes in…
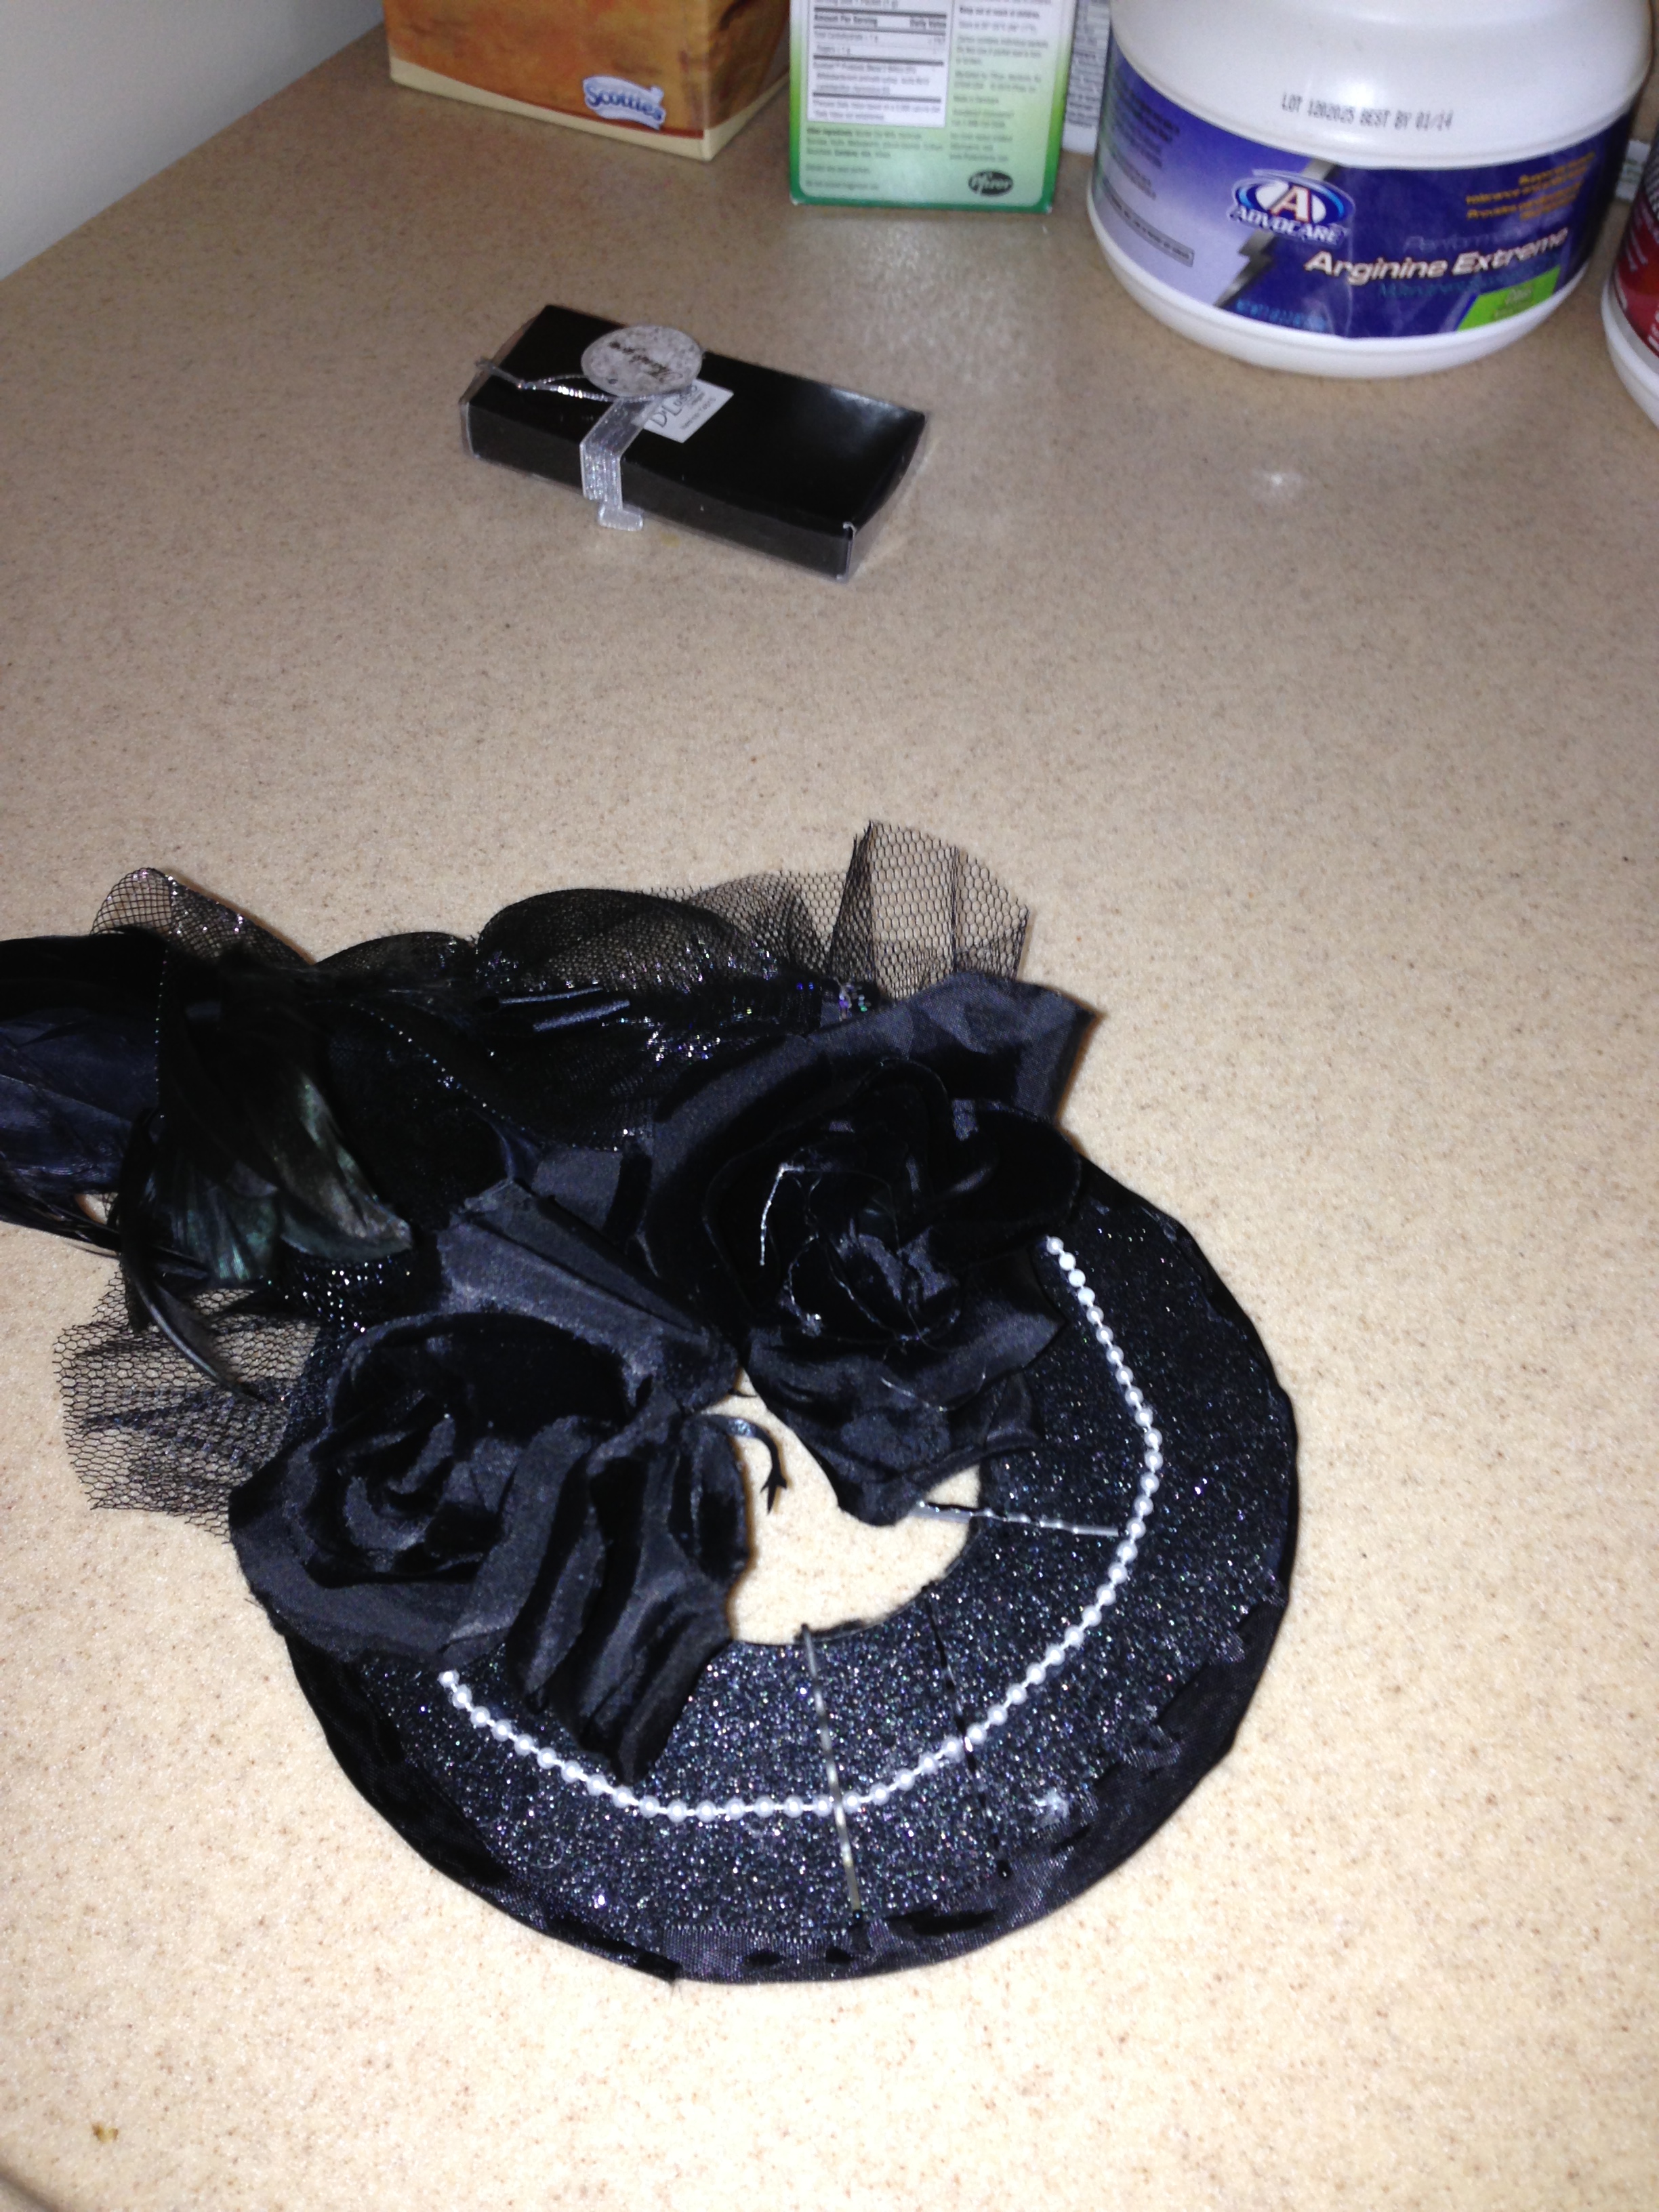
For the first one, I followed this tutorial as far as I could. No retailer where I live sold Russian tulle so I had to purchase a cheaper netted tulle but it was still just as effective. For notions, I did a small string of pearls instead of ribbon at the base of the fascinator. I added the feathers, flowers, tulle for ‘show’ and attached clips instead of a head band for more flexibility in placement.
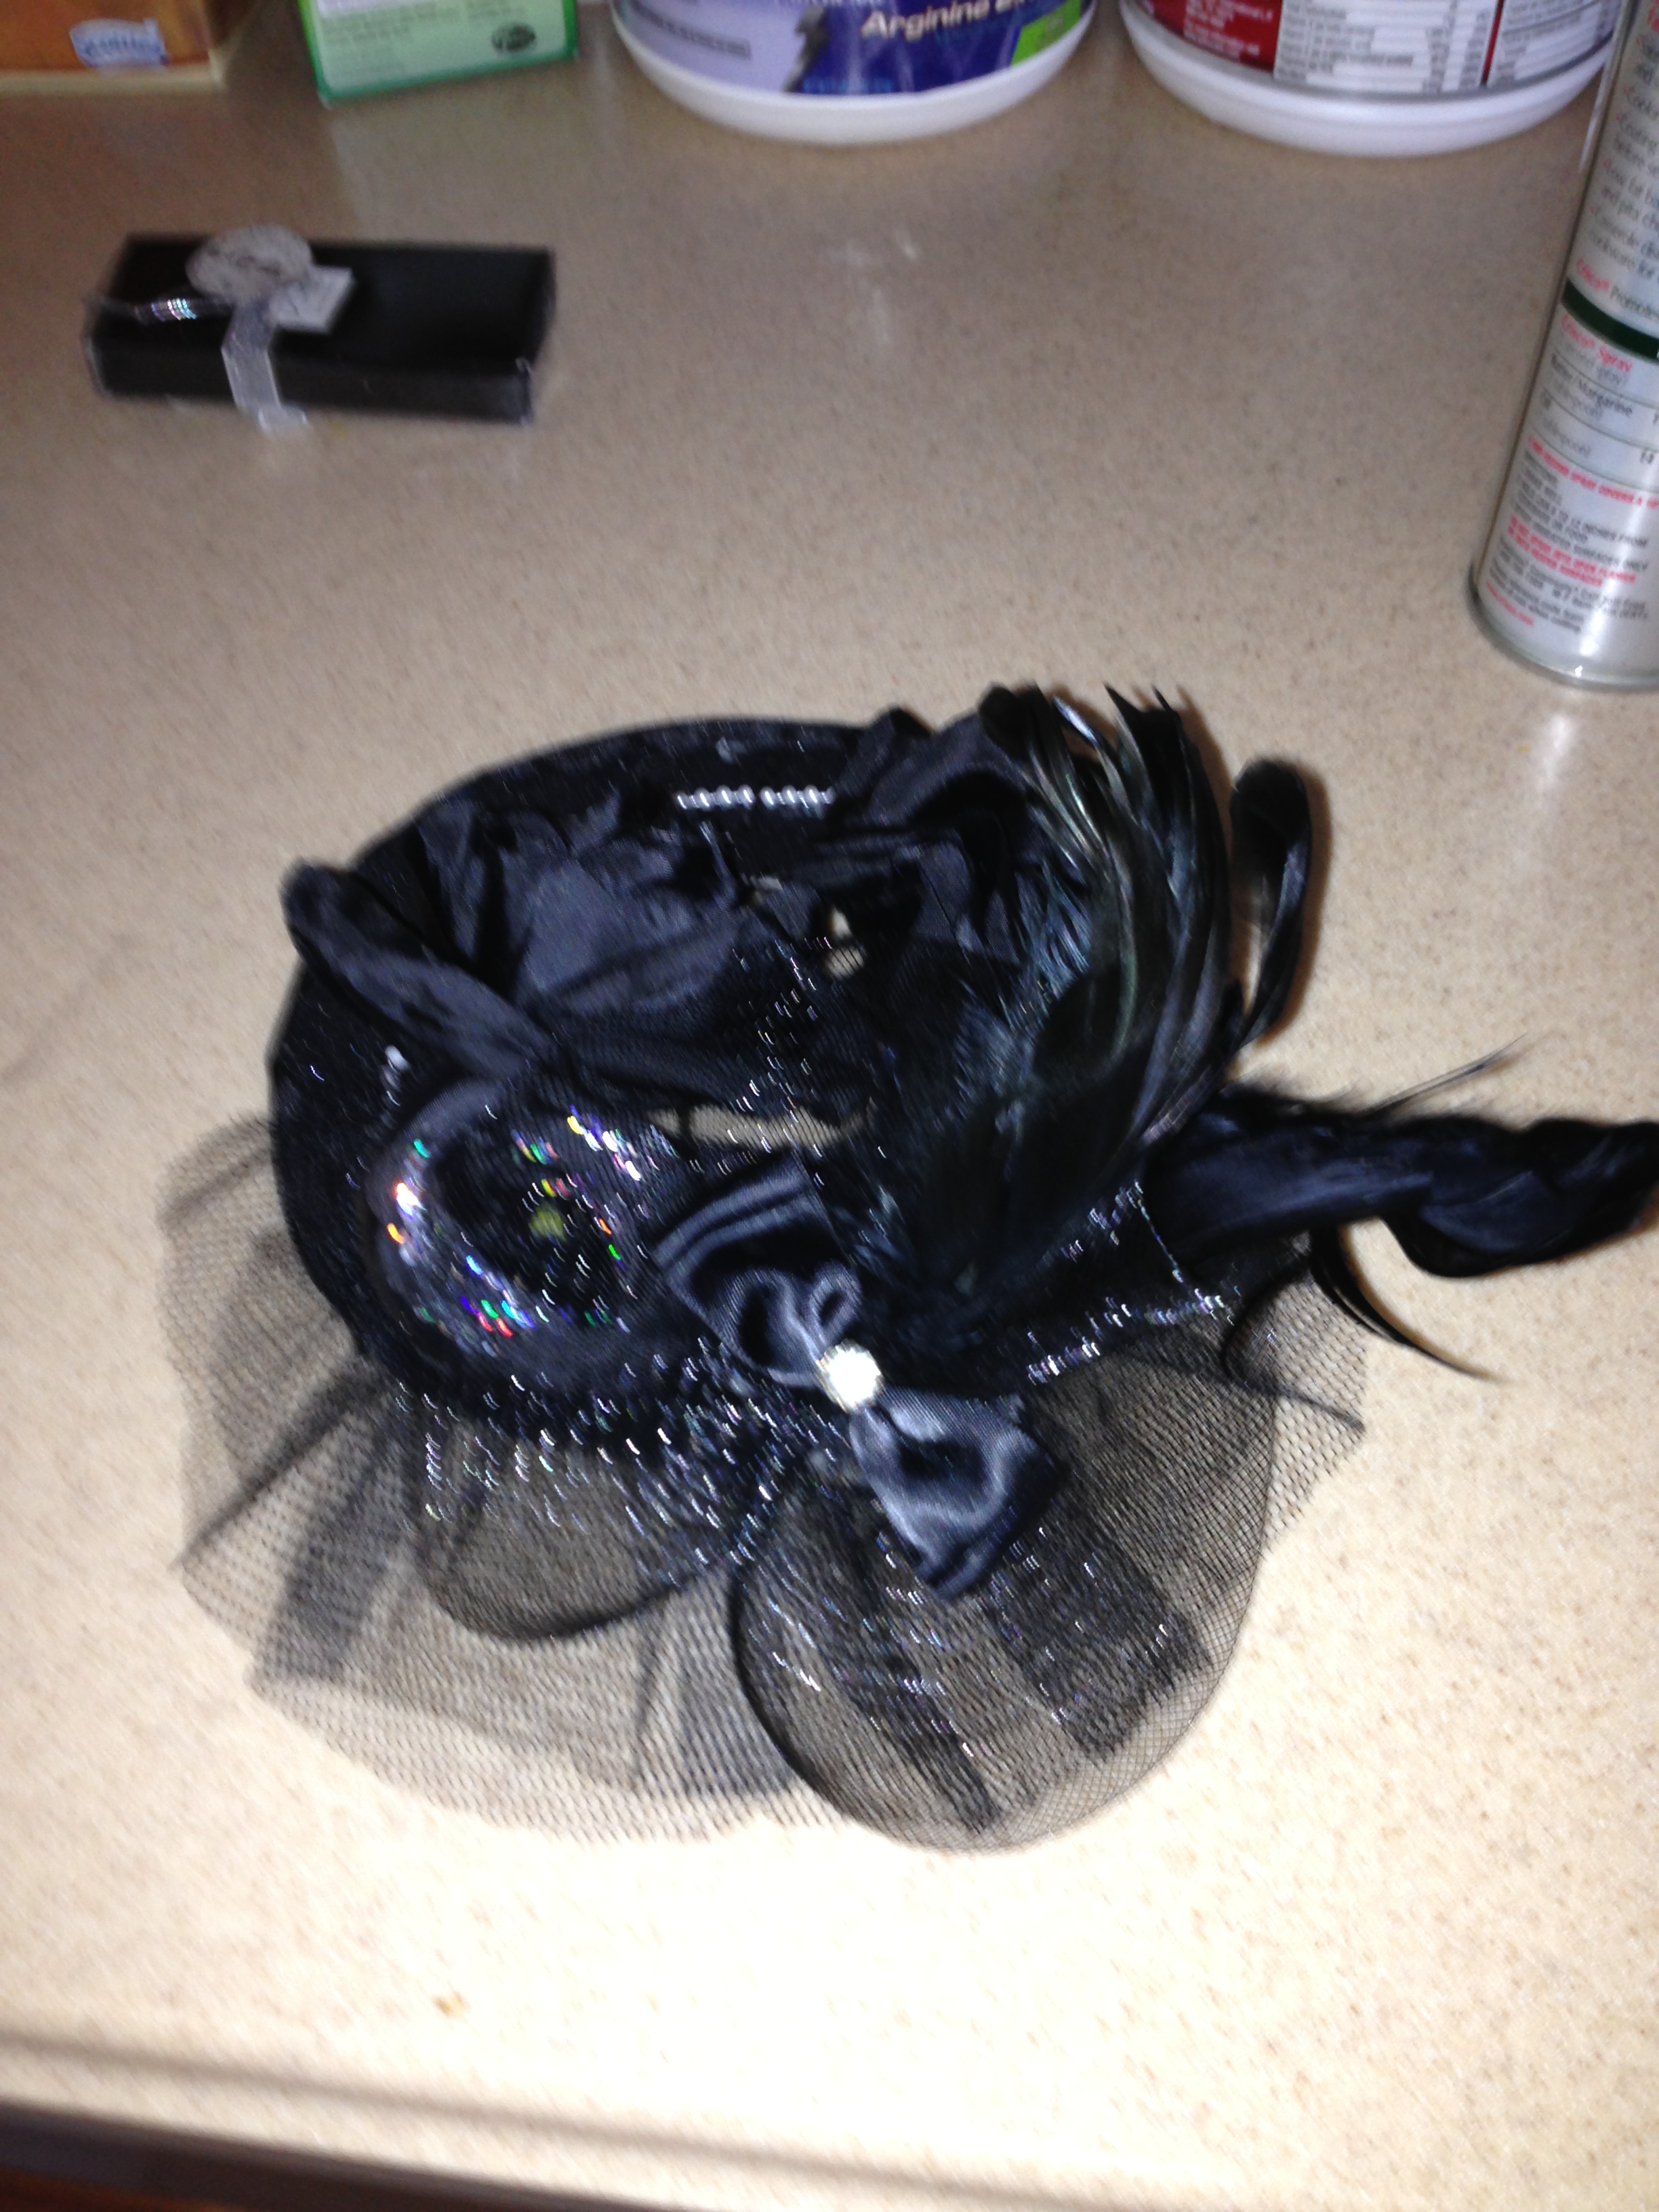
The second one I made was on the fly and (since I am now a fascinator-making pro…NOT!) I literally pieced it together as I went along. The base is the bottom a large top-hat fascinator I got to wear with my Halloween costume this coming fall. It resembled something a dark Mad-Hatter would wear-thus the costume reference. I carefully separated the bottom from the top (making sure I could put it back together for my costume) using scissors and my fingers. The hat came with two black feathers that I reattached to the now separated base.
I added some more tulle, two black faux flowers, black ribbon to hide the cardboard lines and the pearls from the fascinator above. I prayed this wouldn’t look like death on my head…and it worked!
Hope this helps you look fab at your next hated-event! Let me know if you have any questions!
Around the New Year, we decided we were going to crack down on the budget. So, I used this recipe to make our own laundry detergent (if you shred the soap very finely you do not need the food processor) and this recipe to make our own stain remover. We are highly satisfied. For both, I spent under $10 and we are still on the first batch. I have enough supplies to make two or three more. One batch has lasted us more than 20 loads and almost 4 months. So, we never really used fabric softener before because of the perfumes and artificial ingredients, and the price but I saw this recipe and had to try it. It is awesome! $2 got me all of what is pictured below. I used Suave Naturals for the conditioner and added just a few drop of aloe oil. I also used a whisk to mix the ingredients. We tested on a load of sheets and towels and the load felt and smelled amazing! We spent $3 on a downy ball and will use it for every load of laundry! This is definitely a HIT and I don’t think we will ever purchase detergent, stain remover or fabric softener again. The added plus is now, I am excited to do laundy!
The recipe above made all of this and, of course, I still enough ingredients to make another batch!