Sew Cute Summer Tutorial

Hey Loves!

Summer is here! It is hot and the humidity is in full-bloom! With the season change, I cleaned out my closet and realized I was short on summer dresses, so I decided to finally use some fabric I got sometime in 2012 and make one.

You know me…(and if you don’t)

I hit Pintrest to see what was out there and I found this tutorial!

It was great! Very easy to follow and looks super chic.

I would offer these suggestions:

1. Cut the tank longer thank you think. I ruined a tank top and had to start over (using a tube top).

2. Use fabric you don’t have to line…I didn’t realize how see-through my fabric was until I was done.

3. You have good reason to fear elastic thread. I couldn’t figure it out and let’s not attempt to count how many times I tried. I looked up quite a few tutorials and tips and no luck for me.

Anywho…happy summer and happy sewing!

Like, Comment and Share!

20140523-155825-57505890.jpg

20140523-155824-57504969.jpg

Dress Making= Sew Cute HIT!

So many of you know that me learning how to sew has been a LONG time coming but I finally learned and I am on a roll thanks to a lovely lady having pity on me and taking a lot of time to teach me.

After I finished my first project (a pillow) I jumped right into a new one… a chevron shift dress. First, thanks to the wonders of technology, I was able to find this tutorial online and not have to fool with cutting out a pattern, I Just had to follow the lines outlined from a blousy top onto the fabric.

I didn’t do so hot cutting out the neckline lining as indicated in the tutorial and there was some trial-and-error learning…like remembering to put the presser foot down no matter how excited you are.

Anyway, here are some pics. I have many more things I want to sew and I’ll be sharing all the hits and misses with you.  I got the fabric for $2.97/yard at Wally World. (Joann’s or Hobby Lobby didn’t have it).

20131112-140525.jpg

Organizing and crafting part two.

Hey loves!

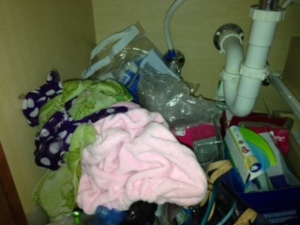
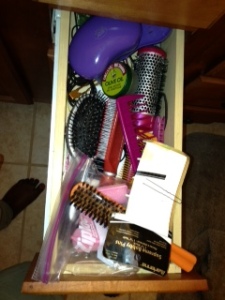
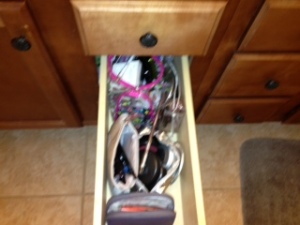
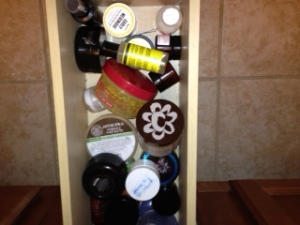
I know you all got a kick out my last crafting and organizing tutorial so here is another one. In preparation for spring cleaning, I did A LOT of organizing/discarding before hand so I could focus on the cleaning itself (blog post coming, don’t fret 🙂 one of the things I HAD to organize was the storage in my bathroom where I keep hair products, hair tools, make up and beauty products. You can see the before here of my drawers and the cabinet under my sink. (So sad, I know!)

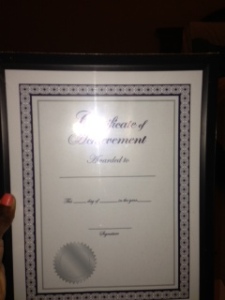
For the organization under the sink I made a trip to the handy-dandy Dollar Tree and purchased a picture fame, a storage compartment and some candy to keep me going (vegan of course :).

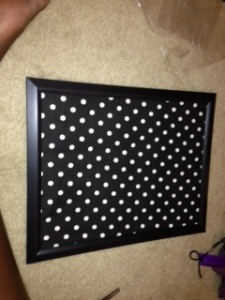
I then went to my craft room and grabbed the glue gun and fabric, I used the last of the black and white polka dot I used on other craft project explained here. I got some picture-hanging hooks from the garage. (Yes, home owners just have that lying around). Then, I got to work.

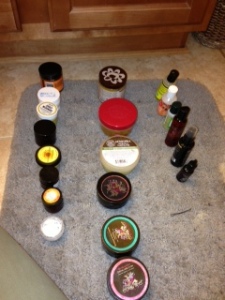
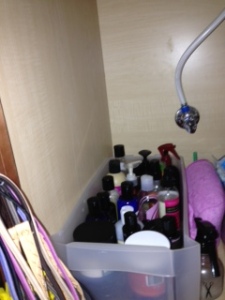
The first step to organizing is taking inventory of what you own and what is staying or going. That is what I did with the items under my sink. I separated them into hair products, hair tools and beauty products. I threw away what I hadn’t used Ina while; what I wasn’t going to use and what was too old to stay.

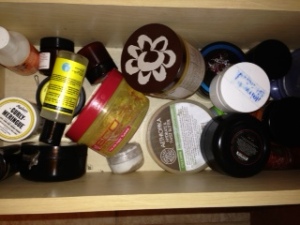
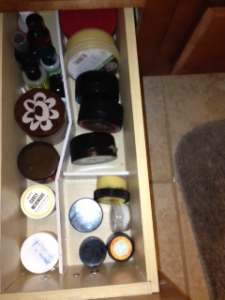
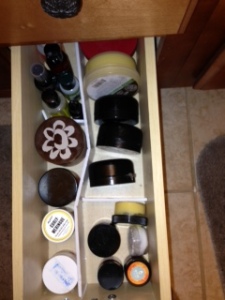
With what was left I organized the hair products by category (leave-ins, deep conditioners, moisturizers, etc.) and organized them neatly, making sure they are easily accessible, in a bit I already had.

I took the organizer from the dollar store and did the same (organized, discarded, place neatly, ensuring accessibility,) with beauty products.

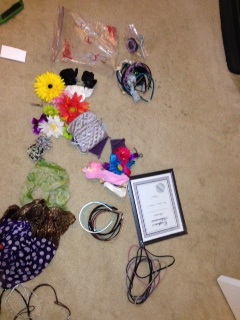
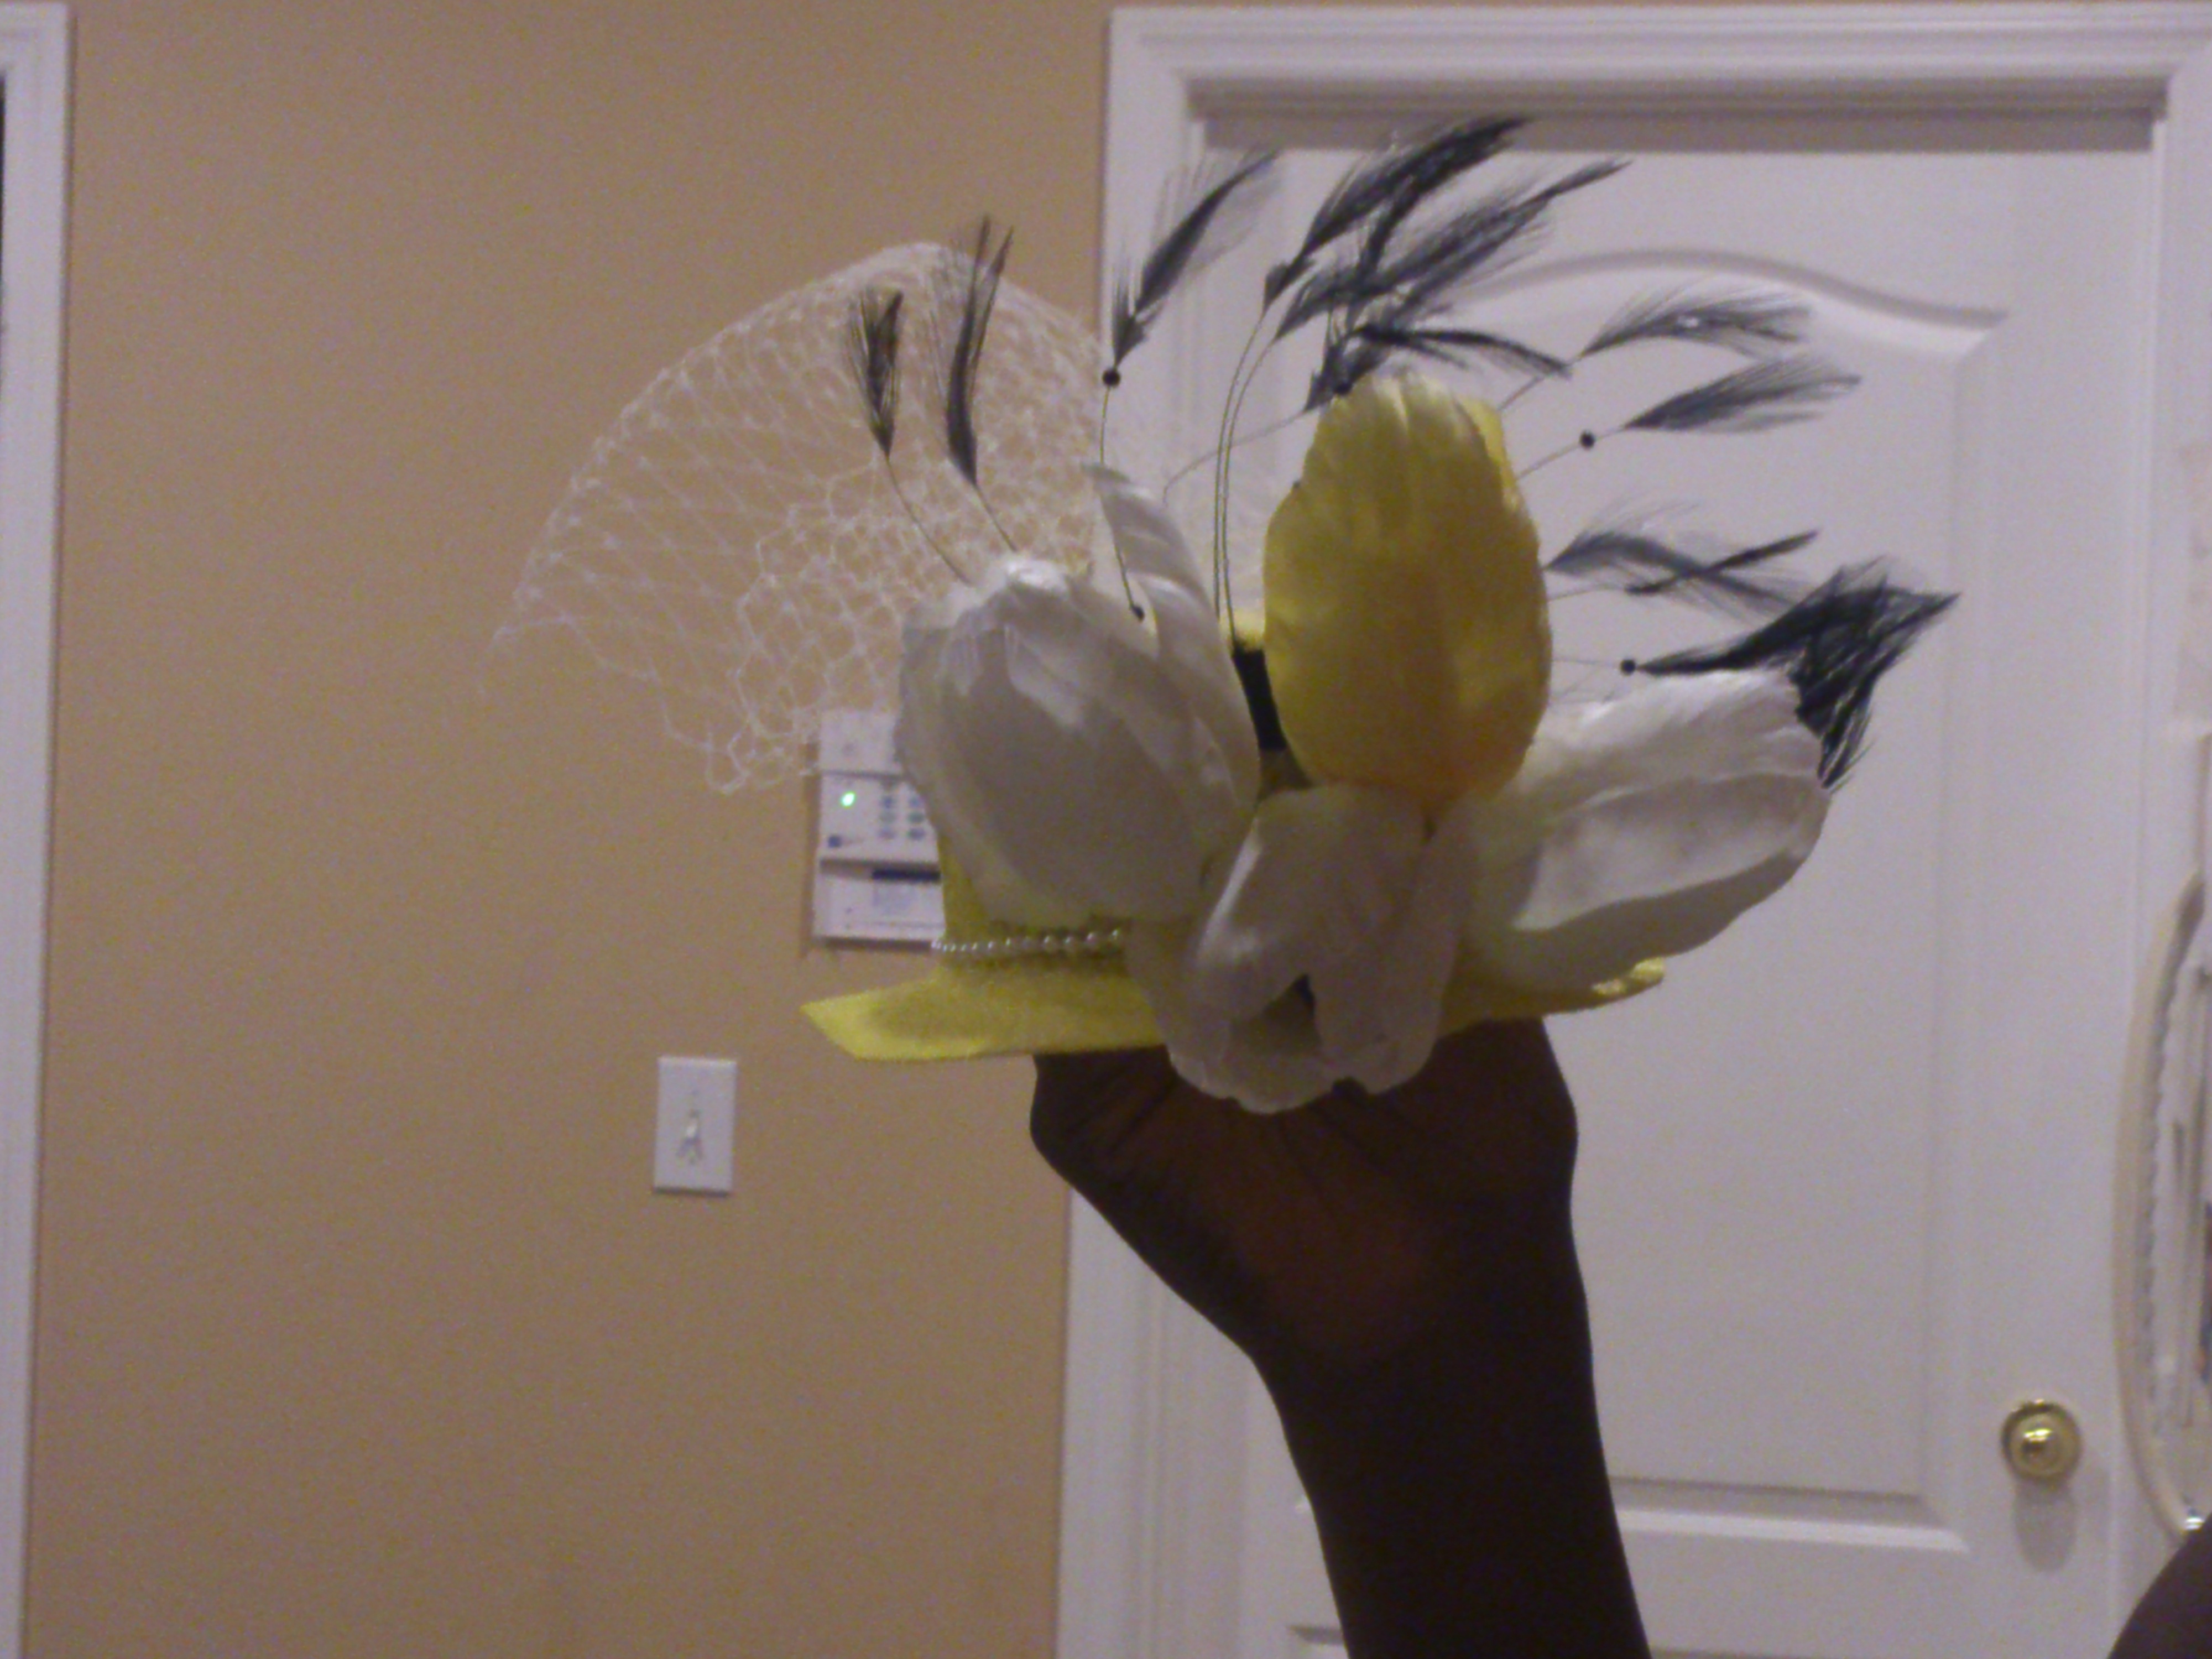
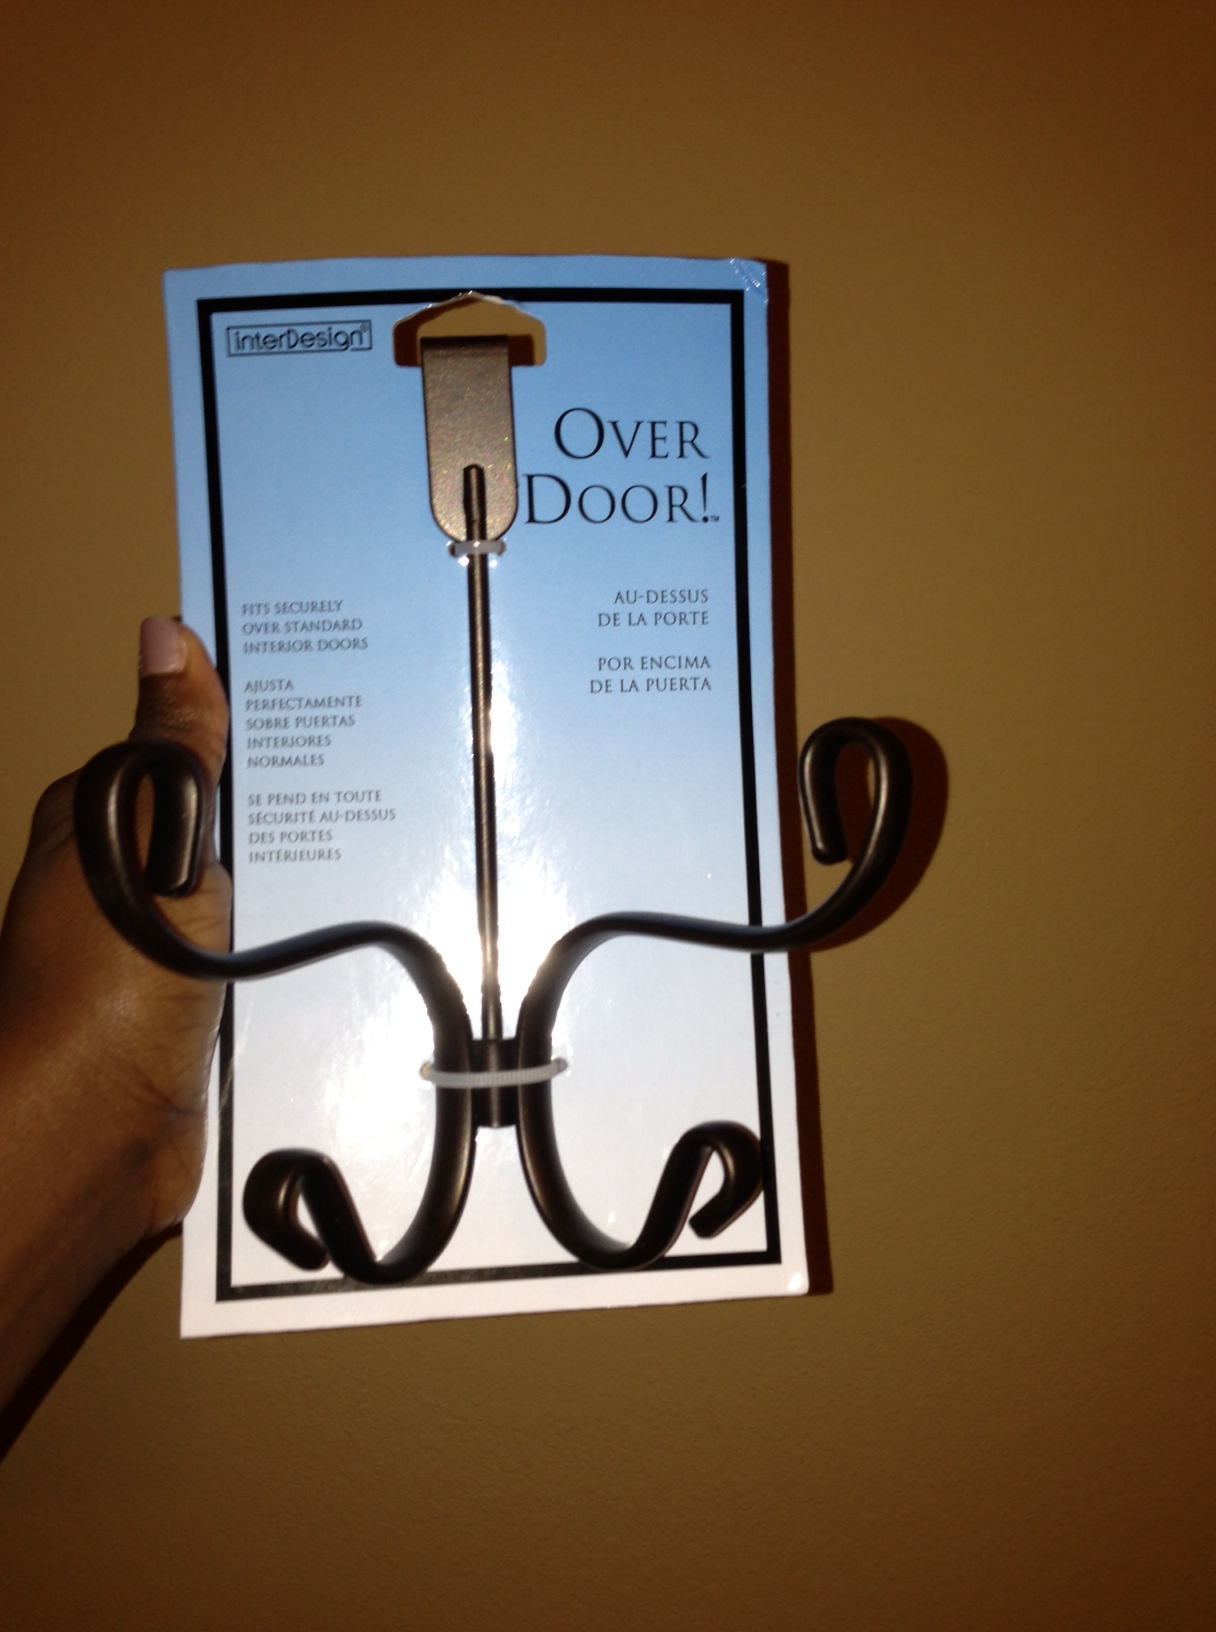
For my hair accessories I used the same process I explained when my earring display. Instead of applying wire I applied the hooks normally used to hang wall art and I used those to hang my headbands (organized by style of course) I then got some one-inch wired ribbon and cut two strips about three inches long. You can use more or less depending on the space you have available. I then added my hair bows to the ribbon. (Remember, accesiblility is key. ) I then mounted a walk hook to the inside of a cabinet door and hung the picture frame.

I am thoroughly satisfied!!! This is by far one of the best things I have done.

Now, on to the drawers, I attempted to follow this YouTube tutorial but this was WAY more complex than I required. I am not a make up artist and definitely do not have the space capacity the demonstrator did in the video.

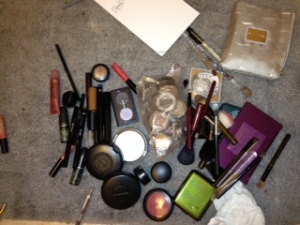
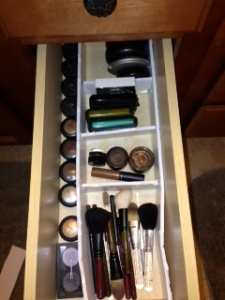
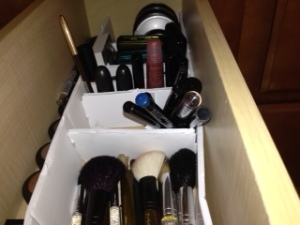
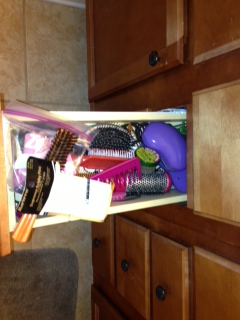
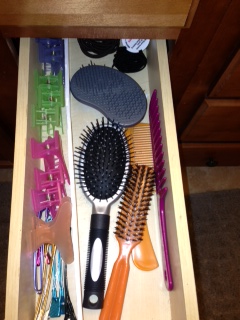
So I separated each drawer on the floor by products type (eye shadow, foundations, brushes, etc. I did this for each drawer- I also have a drawer where I keep my combs, brushes, clips, hair pins and hair ties as well a drawer of hair products (yea, I am a bit of a product junkie).

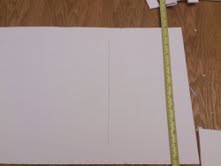
I then used just half 1 extra -large foam board from Hobby Lobby and measured the length and width of the compartments I would need for maximum accessibility. The Mr. Was a great help during this process 🙂 make sure your measurements are very accurate. I thought mines were, but we has to go back to the board and cuts few more times.

After you have the boards cut for your specific compartments, assemble by simply placing the boards how you see fit (according to the pieces you cut. I did not use any glue or anything like that. The tension between the boards is sufficient. Plus, this gives you the opportunity to move some things around of your collection grows.

I am in love with this as well. I have no idea why I did not so this sooner!

Share, comment and enjoy the visual process

Organizing and Crafting image_1 image_2 image_3 image_4 image_5 image_6 image_7 image_8 image_9 image_10 mail.google.comimage_11 image_12 image_15 image_16 image_24image_18 image_19 image_21 image_22 image_23

Spring Cleaning Tips and Tricks

Hey Loves!

Spring has Sprung (and the weather is finally cooperating)! With this season comes road trips, laying out and outdoor parties. It is also bring spring cleaning. Me, being the very odd Mrs. I am simply looooooove this time of year, especially this spring cleaning. Why, you ask? Because (if you can’t already tell) organization and cleanliness literally soothe my soul. I know quite a few of you were over spring cleaning the second read it, but here are some tips and tricks to get you through it!

  1. Get organized: I used this list to guide me and the Mr. through the cleaning. A checklist allows you to tackle one item at a time instead of being so overwhelmed. It also allows you to have a point of reference for where you stopped.
  2. Divide the responsibilities: Get your Mr. or the kiddos involved. You can make it fun by listening music while diving to conquer. If you are sexy and single have a cleaning party. Serve dinner, wine and give favors for your gals pals this will help you out. Also (and this is very important) divide the responsibilities according to skill. My Mr. is not the best scrubber but he is tall (reaching the high spots) great with the vacuum and duster. This is not the time to see how well your husband or child can clean the windows when they have never seen Windex.
  3. Use the right tools: Do your research. Me and the Mr. found that dryer sheets work miracles on base boards. Not only are they easier to clean using dryer sheets, the static in the sheet repels dust! (can we say two-for-one-score!) Dry erasers work really well on door stains and to remove hard water stains on shower doors. Olive oil, lemon juice and baking soda work miracles on a glass top stove. The right tools help you maximize your cleaning time and energy.
  4. Make a schedule: Separate the task so they are achievable by each party. Your life can’t stop because spring cleaning has come but you can work the cleaning in around your life.
  5. Celebrate: When you are done have some cookies, cake, ice cream- whatever is clever. You did it! (and it really wasn’t that bad!)

Like, Comment and Share!

My Fascinating Life

Hey Loves!

If you are like me, you just attended at least one Derby party this season or you attended some function in which you needed something atop your head and did not have an array of fancy church hats neatly stacked in boxes.

Well, I have a tutorial for two quick, easy and inexpensive fascinators…(head piece, or style of millinery, commonly made with feathers, flowers, jewels or beads that attaches to the hair by a comb, headband or clip- The Feathered Head)…this is where the fascinating part comes in…

For the first one, I followed this tutorial as far as I could. No retailer where I live sold Russian tulle so I had to purchase a cheaper netted tulle but it was still just as effective. For notions, I did a small string of pearls instead of ribbon at the base of the fascinator. I added the feathers, flowers, tulle for ‘show’ and attached clips instead of a head band for more flexibility in placement.

Fascinator

The second one I made was on the fly and (since I am now a fascinator-making pro…NOT!) I literally pieced it together as I went along. The base is the bottom a large top-hat fascinator I got to wear with my Halloween costume this coming fall. It resembled something a dark Mad-Hatter would wear-thus the costume reference. I carefully separated the bottom from the top (making sure I could put it back together for my costume) using scissors and my fingers. The hat came with two black feathers that I reattached to the now separated base.

I added some more tulle, two black faux flowers, black ribbon to hide the cardboard lines and the pearls from the fascinator above.  I prayed this wouldn’t look like death on my head…and it worked!

photo 1 photo 2

Hope this helps you look fab at your next hated-event! Let me know if you have any questions!

Like, Comment and Share!

Organizing and Crafting, part 2=HIT!

Hey Loves!

So, I am still in Spring cleaning mode and I am steadily working through organizing. After my dresser and jewelry (see earlier post, tags tutorial, organizing, crafting), I tackled my closet. It was a mess in so many ways. I was not maximizing the space, I couldn’t easily access my scarves, belts or handbags and it was a feat to find a good flip-flop. Here is the before. Don’t judge me. Yes, those are bushels… They worked when the Mr. and I lived in this teeny-tiny apartment and since I was finishing grad school when we got our house, they just stayed.

messy, messy, messy
messy, messy, messy

So again, I searched for DIY tutorials as the items I needed ran from $9.99-$19.99. Not that that is a bunch of money but if I don’t have to spend, why should I, right?

For my purses, I used this tutorial and for my scarves, this one. I went to Wal-Mart and purchased 3 sets of 12 shower curtain rings (pictured below-I did not use the metal one suggested in the tutorial), a metal over the door hangar (plastic can break as I have A LOT of handbags…) and (because it was on sale and cheaper than the supplies to make it) a belt organizer. I spent $13 including tax. That is $6 cheaper than 1 handbag organizer.

Wal-mart, $1.16
Wal-mart, $1.16
Wal-Mart, less than $6

image_9

Wal-Mart, less than $2

Anywho, I followed the tutorial for the hand bag organizer and that went super quick. I did use a tote to hold my clutches and wallets as they couldn’t be attached to the shower curtain rings. The finished result is pictured below. At first I thought it was a bit cumbersome, but it has been almost a week and I can’t say that I am not satisfied. My handbags are organized and I have maximized closet space. It does not interfere with the bedroom space as we always cracked the door to my closet for proper ventilation. If I anything I would get two singular door hangers to separate the items, but I am pretty sure that wouldn’t change much for me because my handbags are large.

I attempted to follow the tutorial for the scarf organizer but my tape wouldn’t stick. (I didn’t have the tape she suggested and so I tried packing tape, no go). So I used some ribbon I had lying around too attach the curtain rings to the hanger. I was tired and hard-headed so I didn’t make any cute bows or even measure the ribbon, I just made sure they were secure. For $1.16, this is the best storage I have ever had for my scarves! I am thoroughly satisfied.

packing tape, good for packing
the beginning, I lined up the first row of rings
all done!
all done!

My sandals, flip flops and some flats, I purchased an under-bed shoe organizer for $6.99 from Bed Bath and Beyond ( and had a 20%off coupon). Again, I couldn’t make one for cheaper and this holds more than just flip flops.

it went in my closet not under the bed

Again, I am in awe of all the crap I had. Good will donations are soon to come. However, now I can accessorize freely! Yay! Comment and share!

Cleaning and Crafting=HIT!

Hey Loves!

I have been a busy bee lately and now I am getting even busier. As Spring has sprung, I am in the mindset of Spring cleaning. I composed my “To-Clean List” (will be posted later) as well as the items we need to buy to complete said cleaning. In preparation, I started cleaning out some serious danger areas of our bedroom. I started with my dresser (pictured below) that was full of JUNK! My jewelry was everywhere and not accessible. I had perfume literally collecting dust because I never wear it as they contain artificial scents and are not holistic. So I decided to clean, throw out and craft.

I started by going to Pintrest and search ‘jewelry organizers’ and saw this and this. They looked easy and inexpensive. I went to my local Dollar store and purchased:

dollar store finds
dollar store finds
  1. 2 paper towel holders
  2. Wire (it came in a 3 pack)
  3. 1 picture frame

Then I got to work. I must admit, I didn’t read any of the instructions on the tutorial. I just saw them and said ‘I can do that’ and then did it. You are more than welcome to refer to the tutorials above. I must also apologize. I got so caught up in crafting, I didn’t take step-by-step photos. *gives self two slaps on the wrist* I will do better. I promise. In the meantime here is what I did and what I used for each item. Enjoy!

*Note* For all three items I used left over fabric from other projects so it was already cut and I am unsure of the exact specifications for each. However, I am sure I did not use more than 1 yard for all three projects.

Here are photos of the before and after. The tutorials are below. Thanks! Comment and share!

A dresser of junk
A dresser of junk
Clean and organized!
A closer look at the bracelet display

Earring Display

Items needed

  1. Fabric (amount depends on how big your picture frame is)
  2. Picture frame (size depends on how much space you have and how many earrings)
  3. Wire (you can also use mesh wire, they didn’t have that at the dollar store)
  4. Hot glue gun and sticks

Process

  1. Remove backing and glass from frame.
  2. (make sure glue gun is ready to go) measure fabric for frame backing and cover by streaming glue on the frame backing and placing fabric on top of hot glue. Press down to make sure the fabric is securely attached.
  3. Measure wire the width of the frame and cut the amount strips you need. I used three. Secure to the frame by dotting with a small drop of hot glue and holding until secure. Do this for all the strips. Make sure it is secure on both sides of the frame. (This was the trickiest part for me. It may take a little patience as well as trial and error.)
  4. Insert backing covered with fabric and secure.
  5. Organize earrings and hang! You can always add more wire strips as your collection grows. As for placement, I put the longest/biggest earring at the bottom, medium in the middle in small at the top.

Necklace Display

Items Needs:

  1. Cork Board
  2. Fabric
  3. Glue Gun/Sticks
  4. Push pins or straight pins

Process

  1. Similar to the earring display, measure the amount of fabric you need to cover the front of the cork board.
  2. Using the hot glue gun, attach the fabric to all sides of the cork board; make sure it is secure.
  3. Align the straight pins any way that is most accommodating to size of your cork board and the amount of necklaces you intend to display (I didn’t have push pins. #fail They are much easier to use and you can get them in cute coordinating colors. I doubled strait pins and used them to hang the necklaces. If you have really heavy necklaces, the straight pins will not hold. Straight pins are temporary.)
  4. Organize and hang the necklaces!

Bracelet/Watch Display

Items Needed

  1. Paper towel (A horizontal one, not a vertical one)
  2. Paper towel roll
  3. Fabric
  4. Hot glue gun and fabric

Process

(If you can’t tell, there a is a lot of similarity in these projects)

  1. Measure fabric to cover paper towel roll (you can use multiple pieces as the bracelets and or watches will cover the lines) and cover using hot glue gun
  2. Organize and slide on bracelets and watches
  3. Adjust covered paper towel roll to fit in holder!

*Note* I covered the bottom of my paper towel holder with fabric, the same way I covered all the other stuff, but I wouldn’t recommend it unless you have a high grade sturdy cotton fabric.

*Update* I know accessorize more because I can see everything and I don’t have to dig through that pile of junk to find what I need! yay!